Water Heater
Introduction
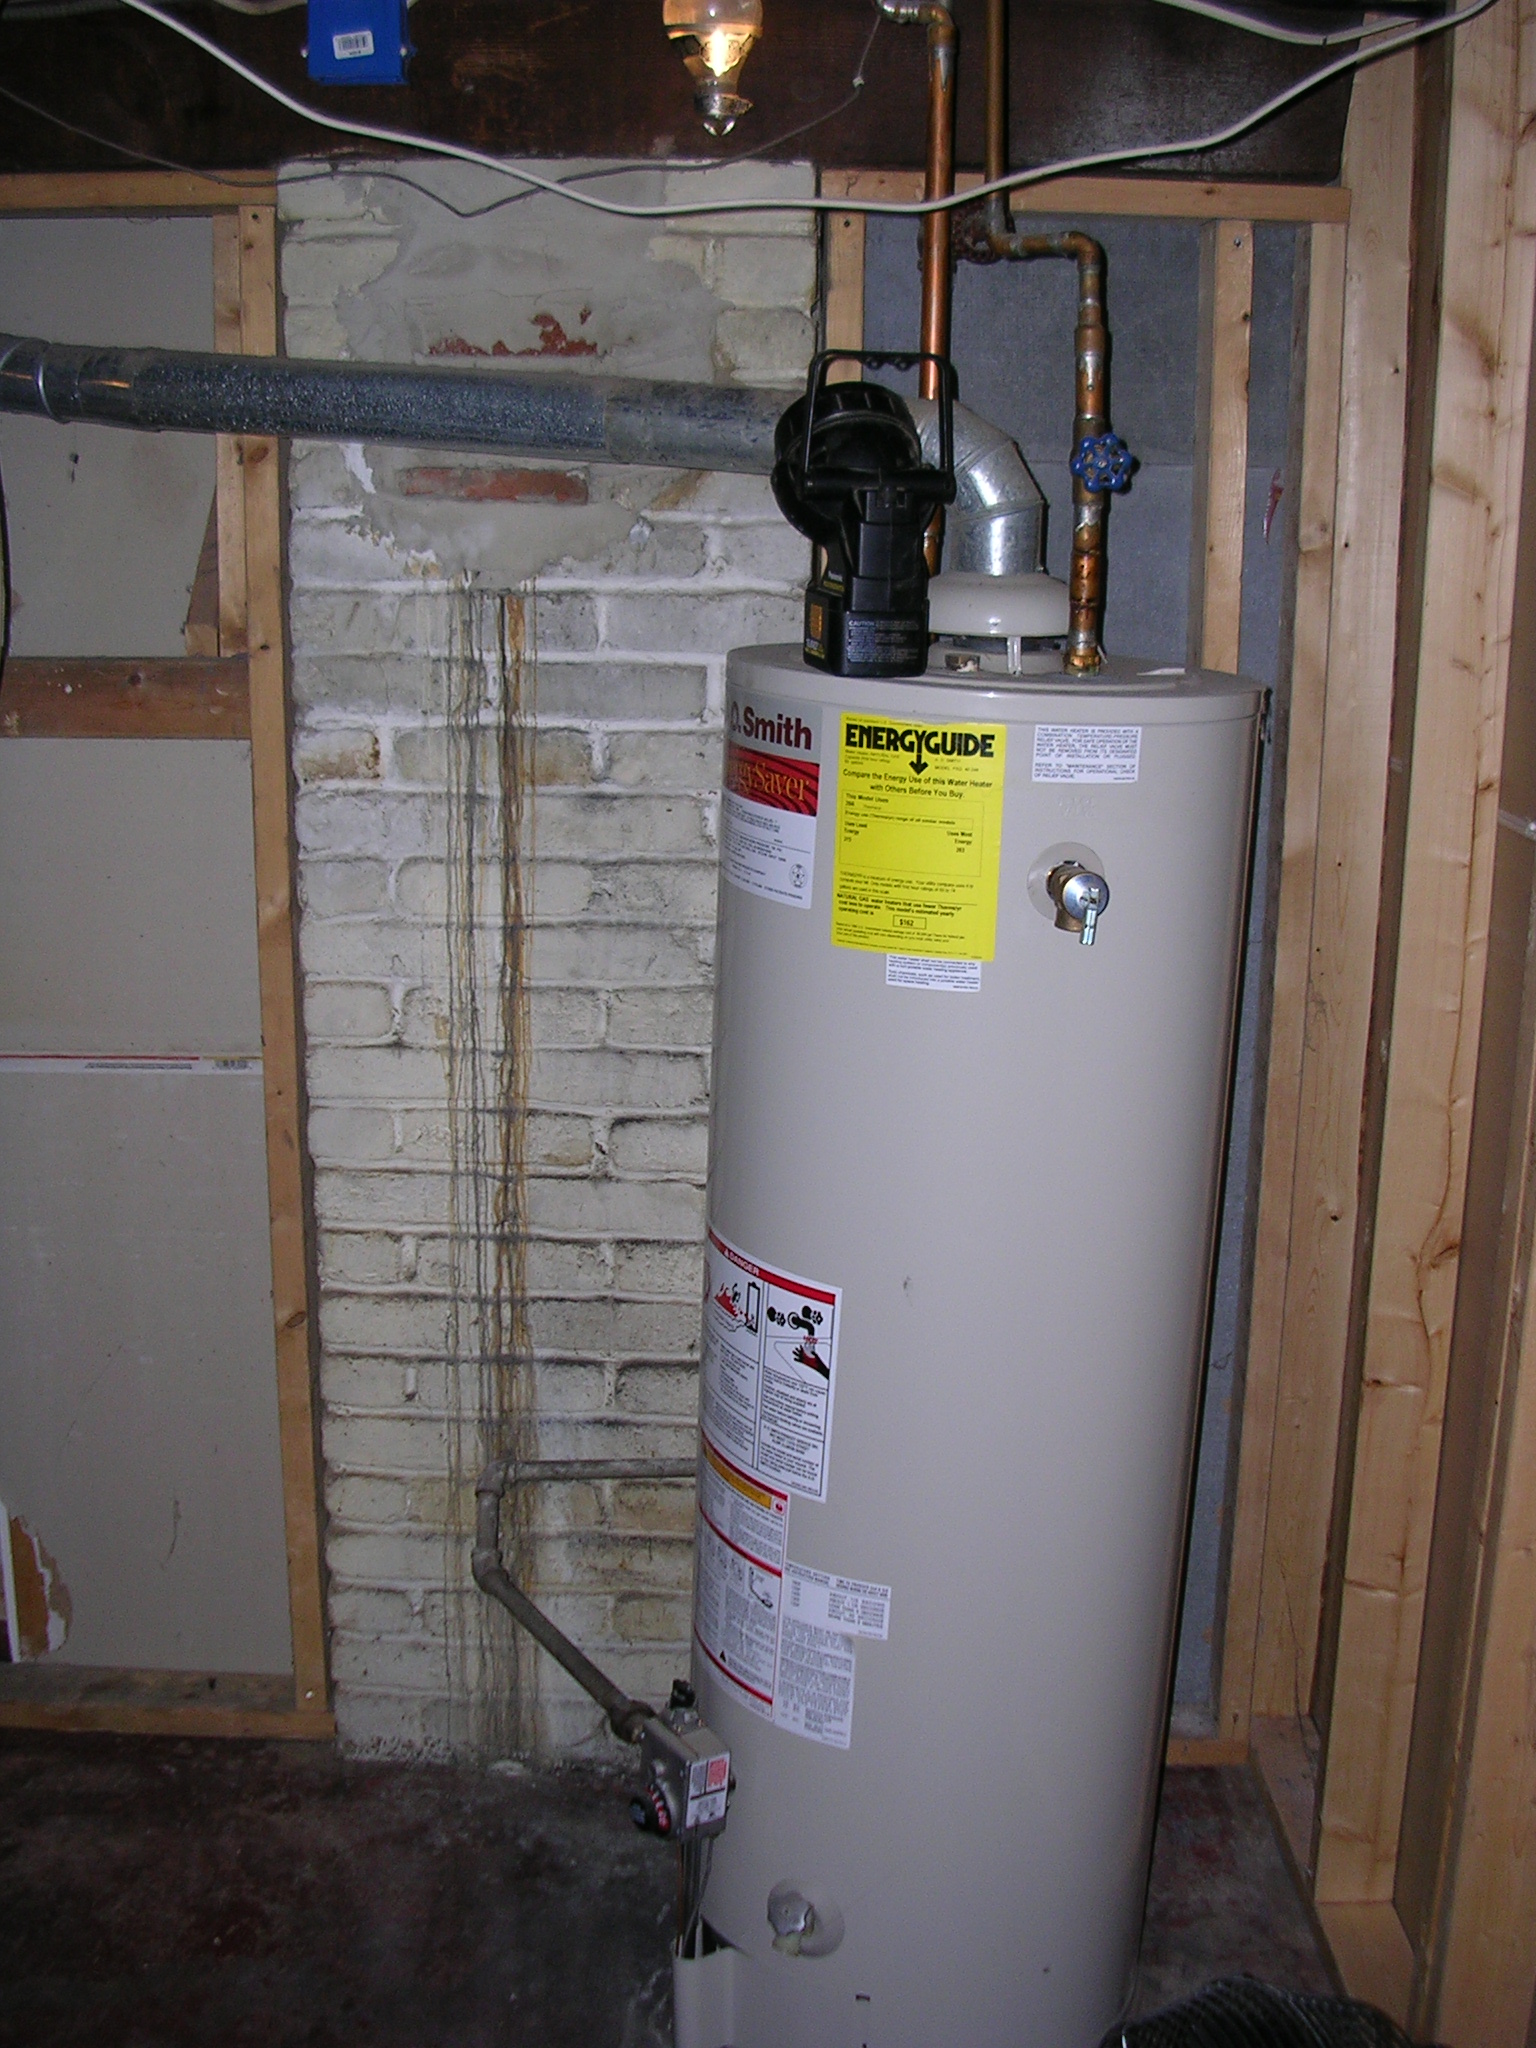
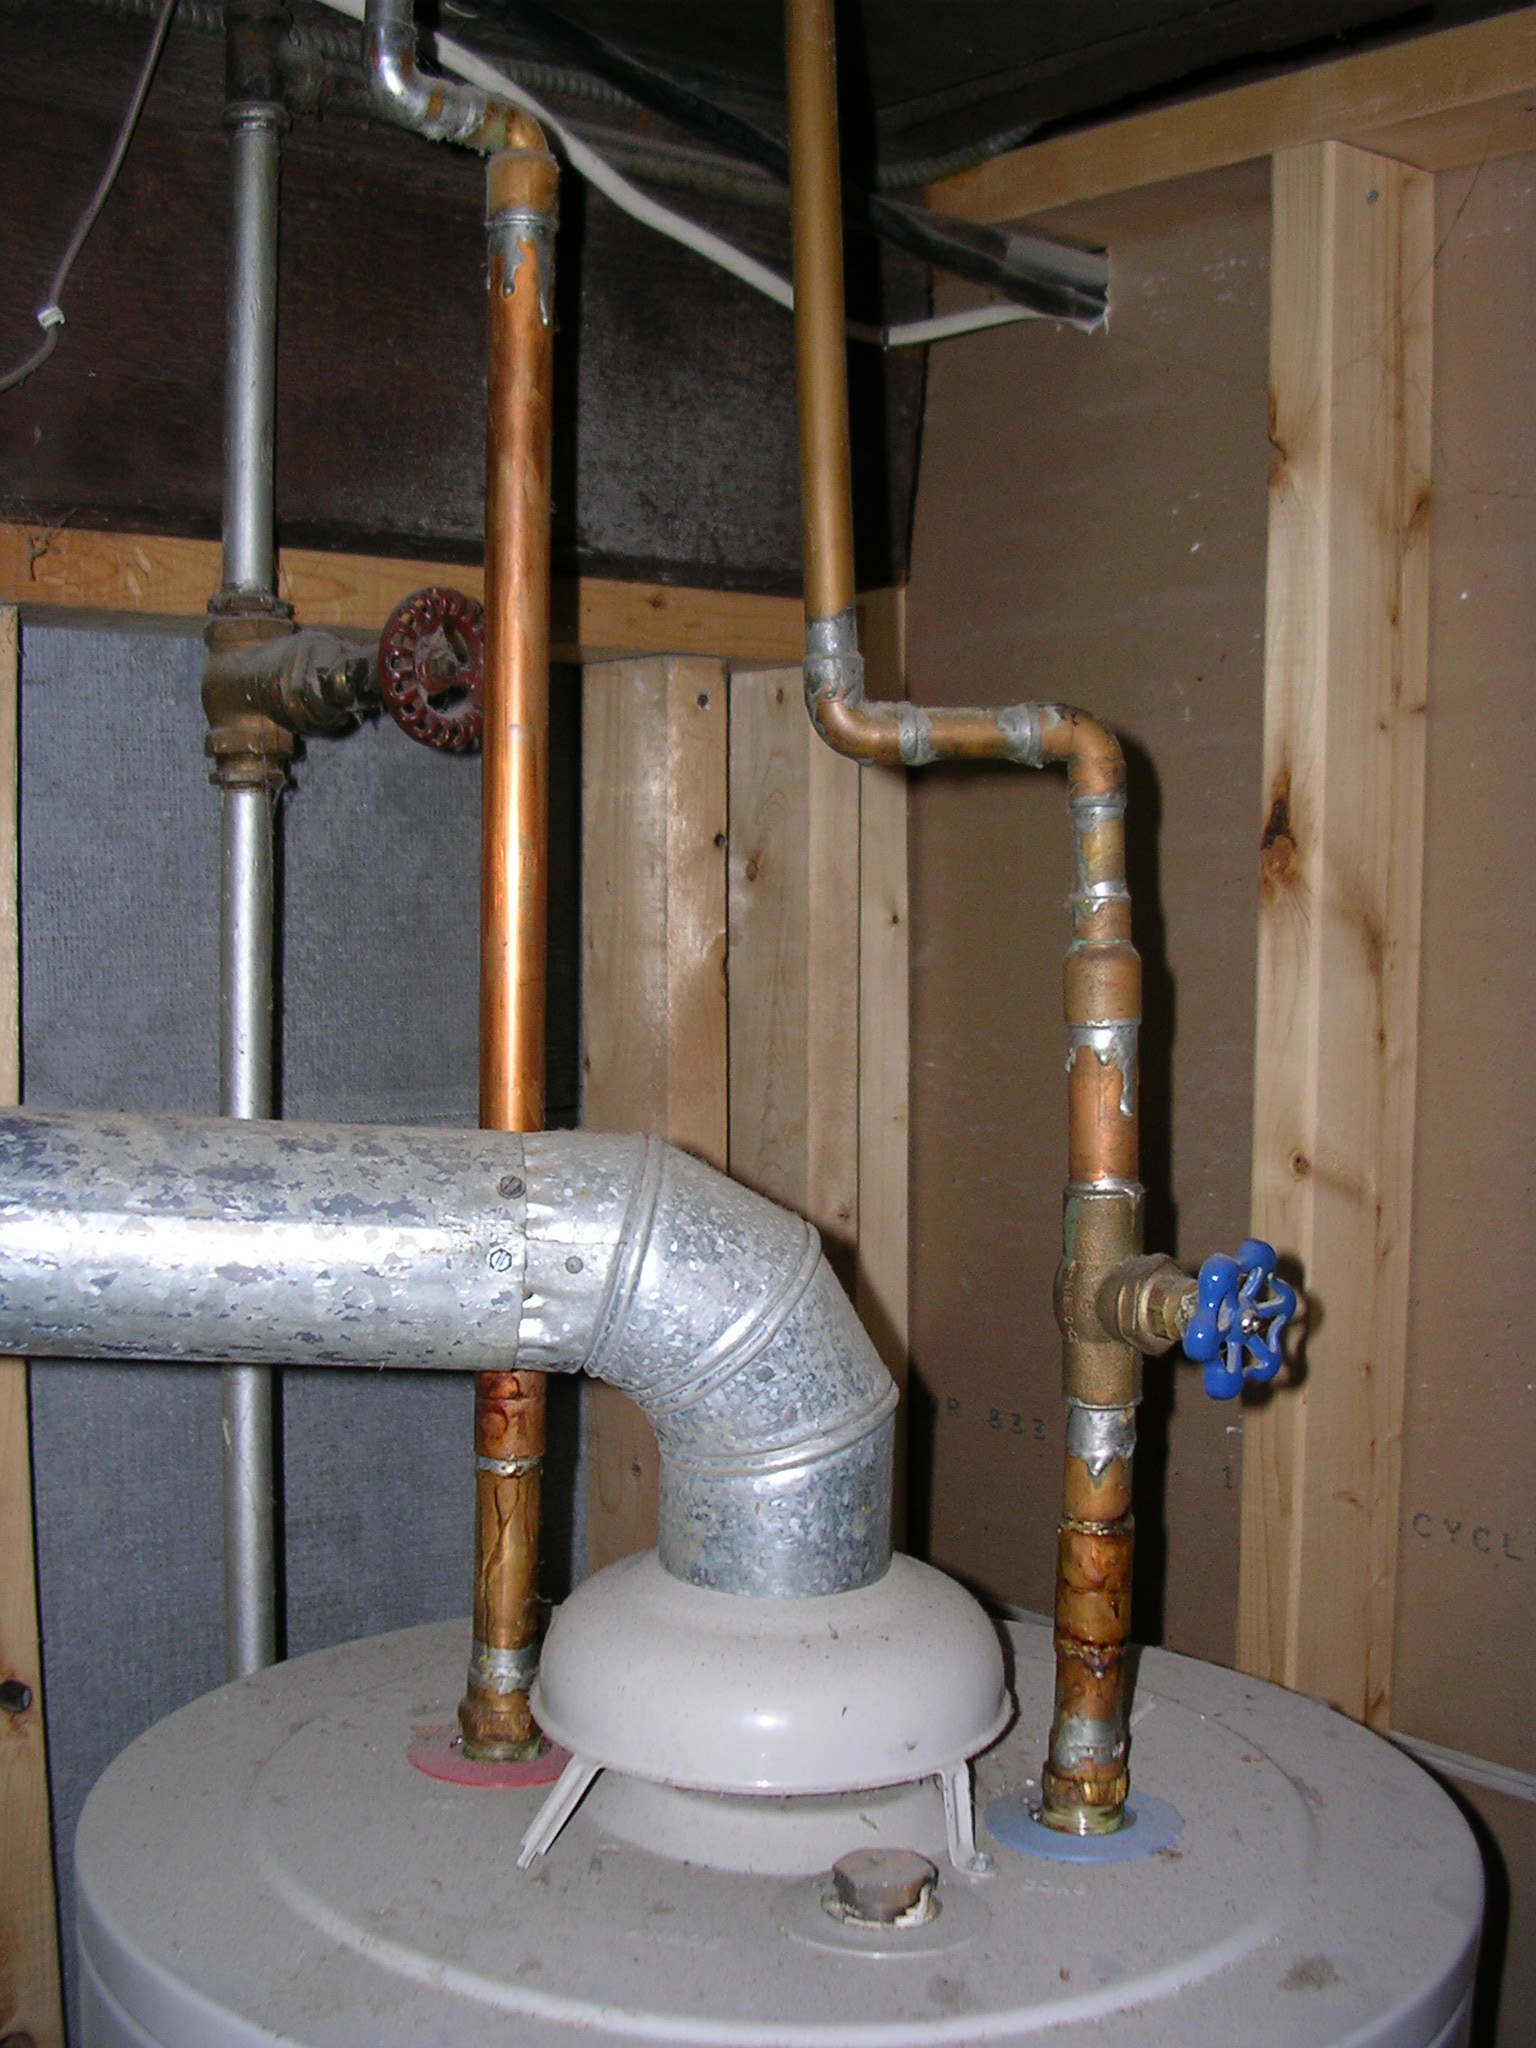
Let me start off by saying there was nothing wrong with our water heater, except its location. The water heater was located in the work room by the furnace. This was fine except it was about 4 feet from the furnace and 3 feet from the exhaust chimney.
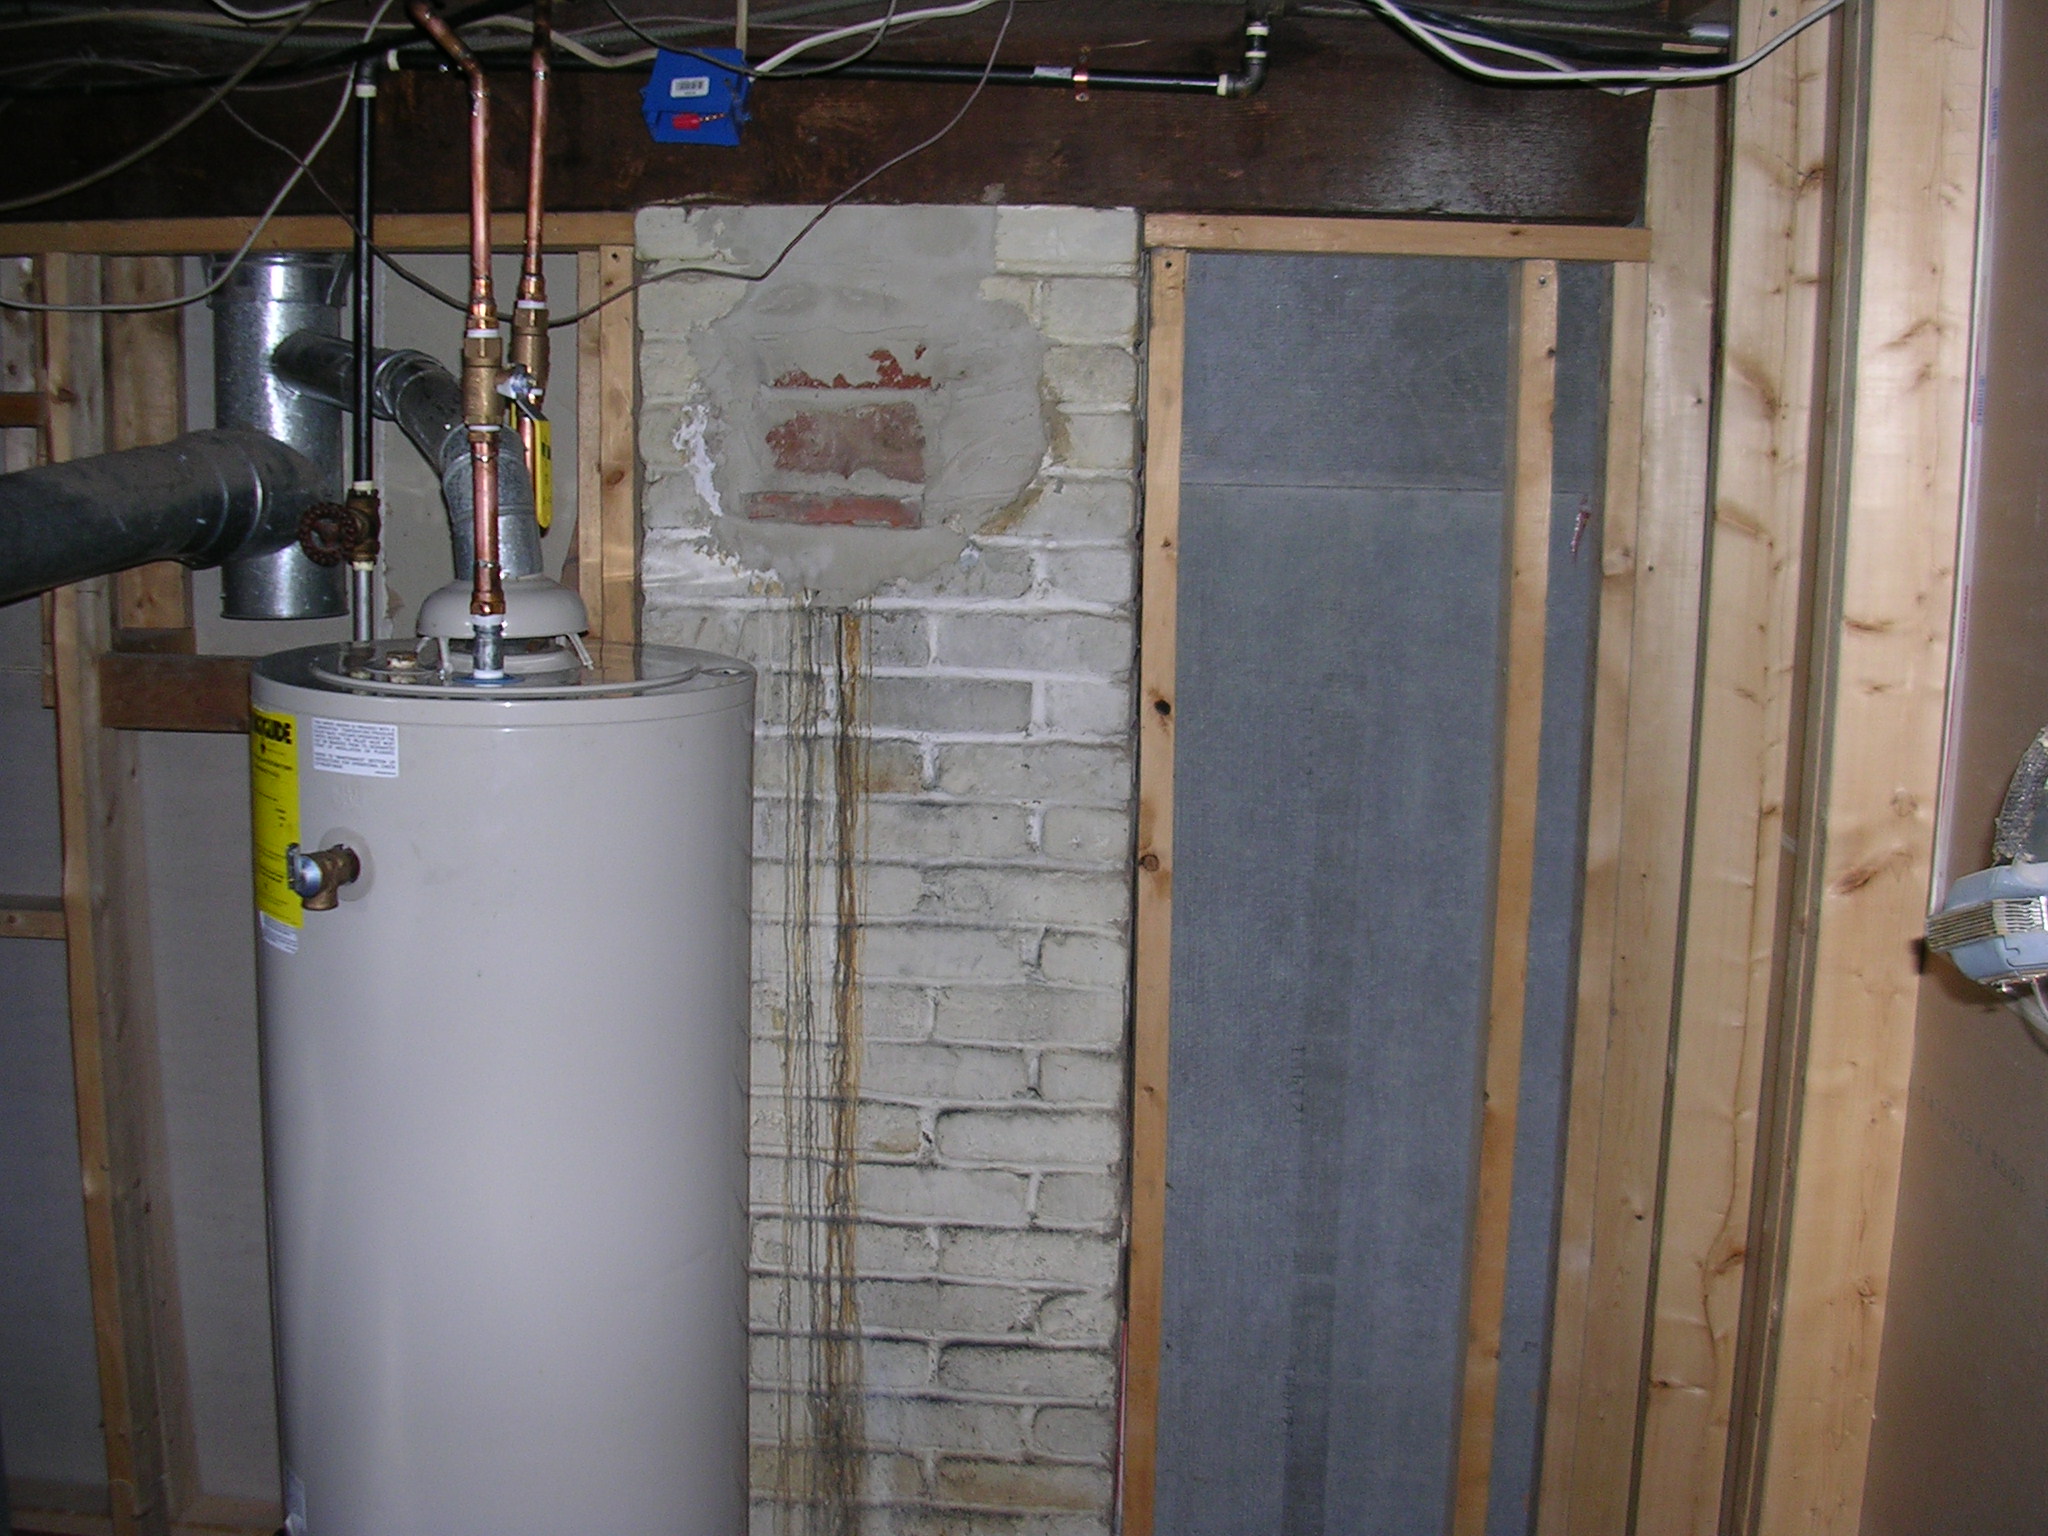
As you can see there was lots of wasted space to the left of the water heater. As Nikki and I tried to figure out the best layout for the basement we always came back to the same conclusion, we need to move the water heater so we can put a entrance to the work room where the water heater currently is. "That sounds simple enough", says me with no plumbing experience.
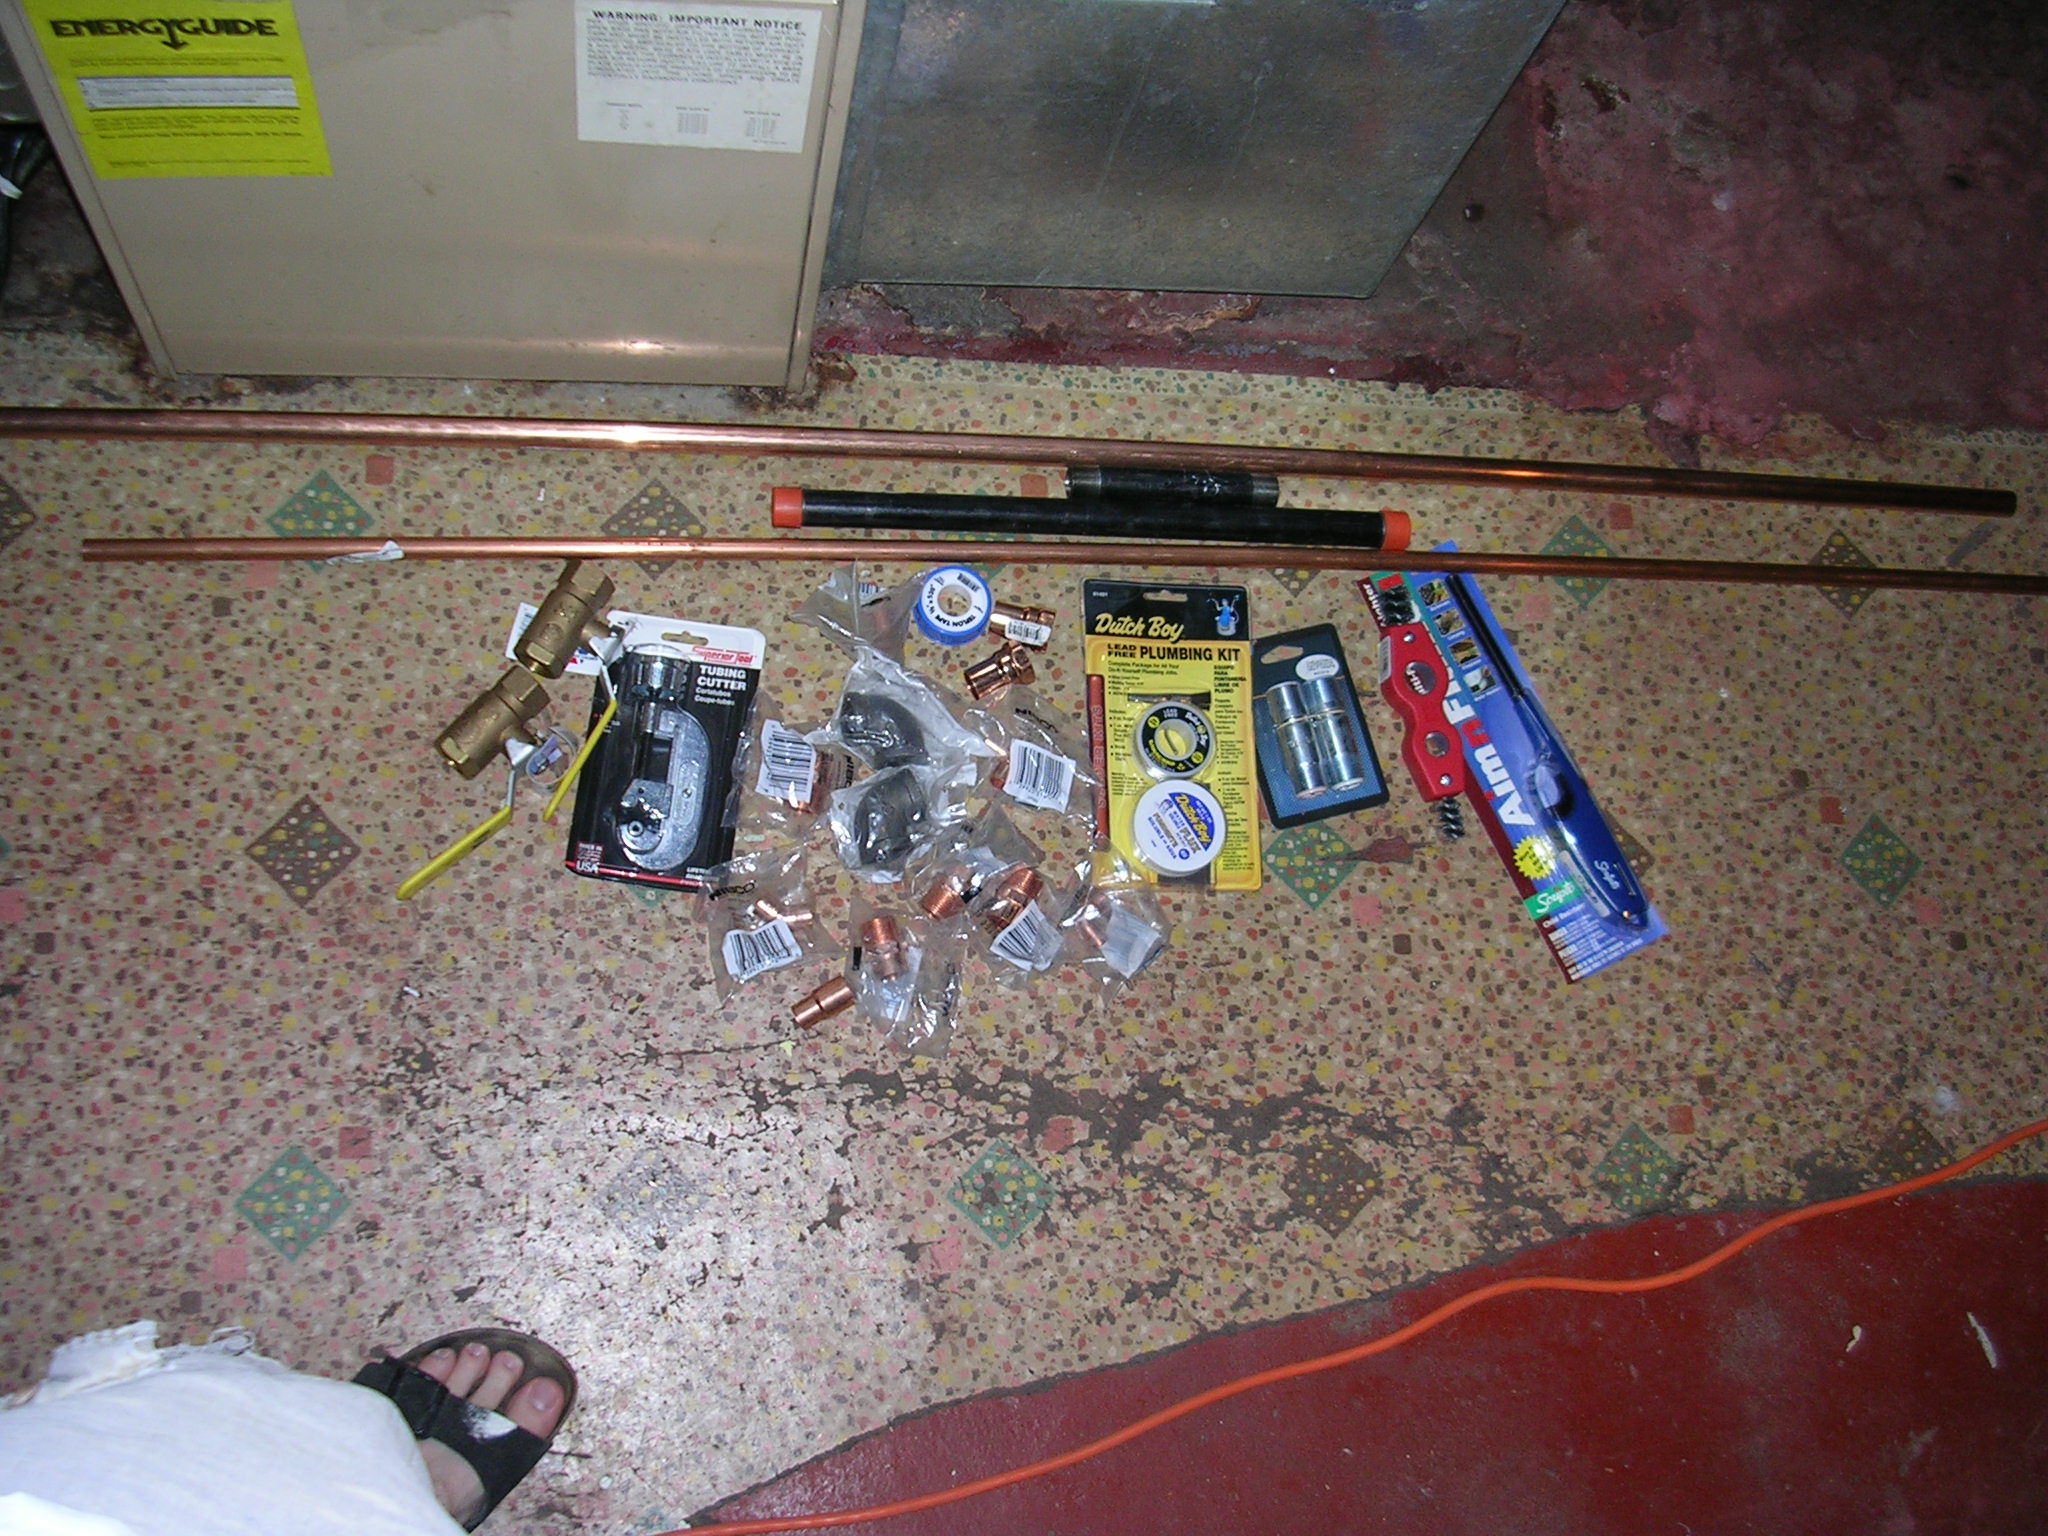
I read all about plumbing in my "Home Improvement 123" book from Home Depot (I highly recommend getting that book). At least now I had an idea of what was involved. Next stop Home Depot and Lowe's where I departed with $100 in exchange for various pipes, fittings, and tools:
The hot and cold water are carried through copper pipe so I needed plenty of that (and all associated fittings). I also wanted to install water shut off valves on hot and cold pipes. The previous installation had a crappy twist off valve. As you might guess I despise those types because of how long it takes to turn them off or on, and because you always end up turning it the wrong way:
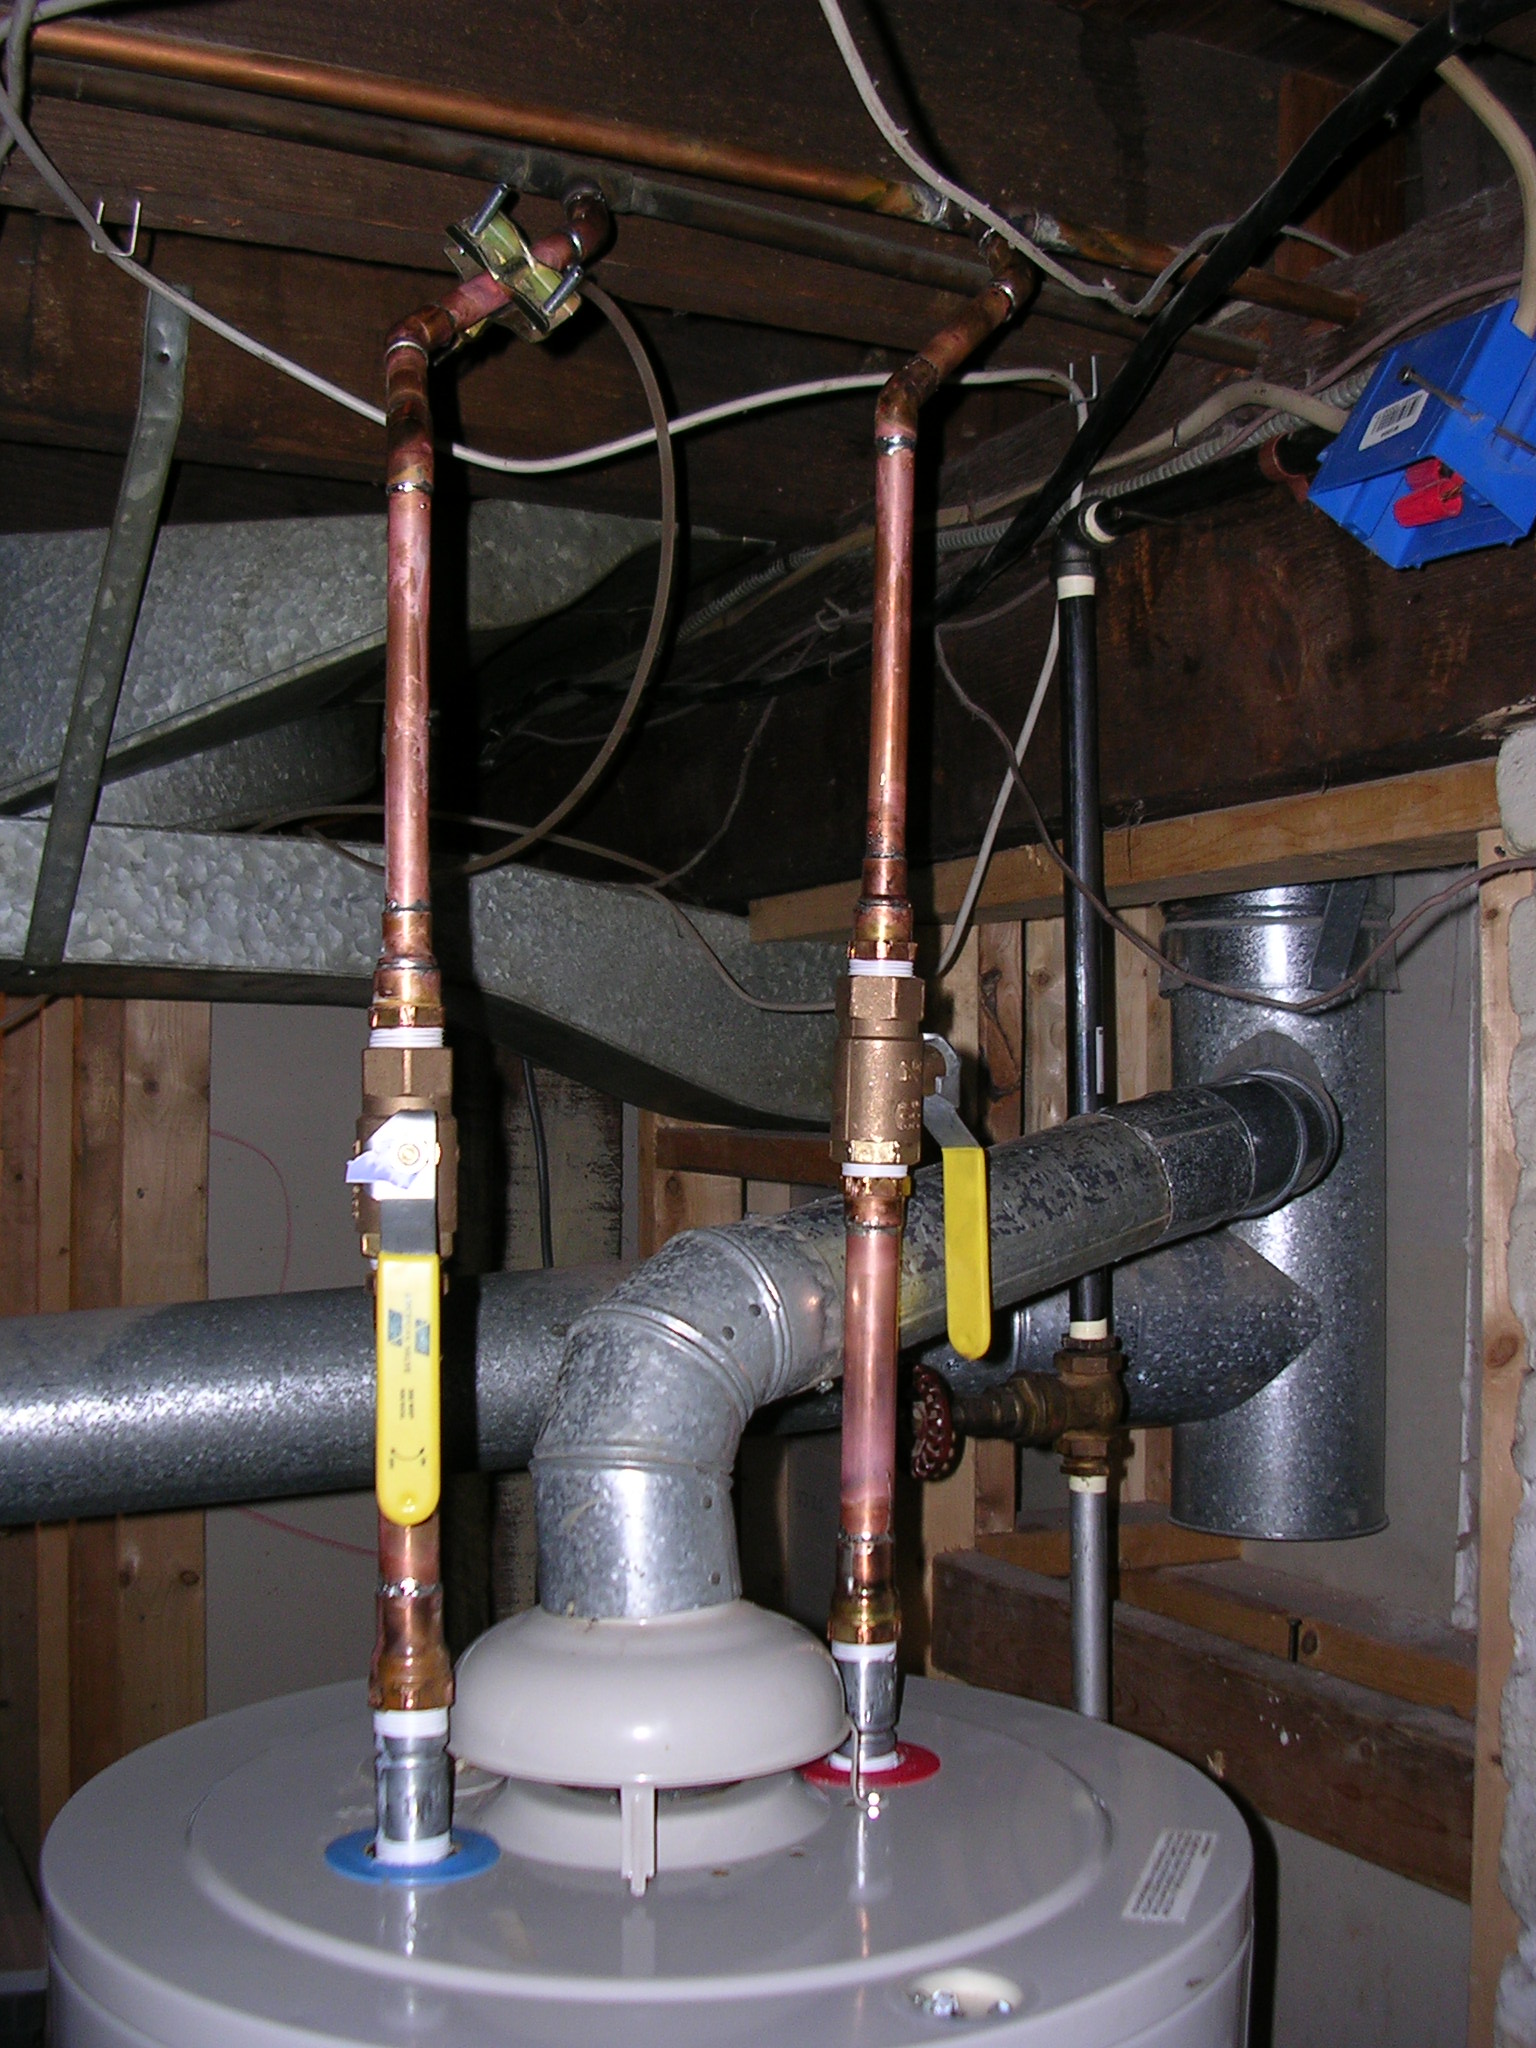
If you look back at my pictures of all the stuff I bought you will see two supreme valves. They support 600 PSI (my copper pipes will burst long before that), are quick to turn off / on, and are easy to tell if they are on or off. That being said they were $10 each versus $1.50 for the crappy twist knob kind. Ok I admit, I splurged.
I also purchased a pipe cutter which was worth its weight in gold (and its pretty heavy). It cuts copper pipes like butter, and its about 10 years faster than using a hack saw. I also got a deburring tool. It deburrs both the inside and outside of pipes. I already had a blow torch but I still needed flux, solder, and emory paper which all came in a combo pack.
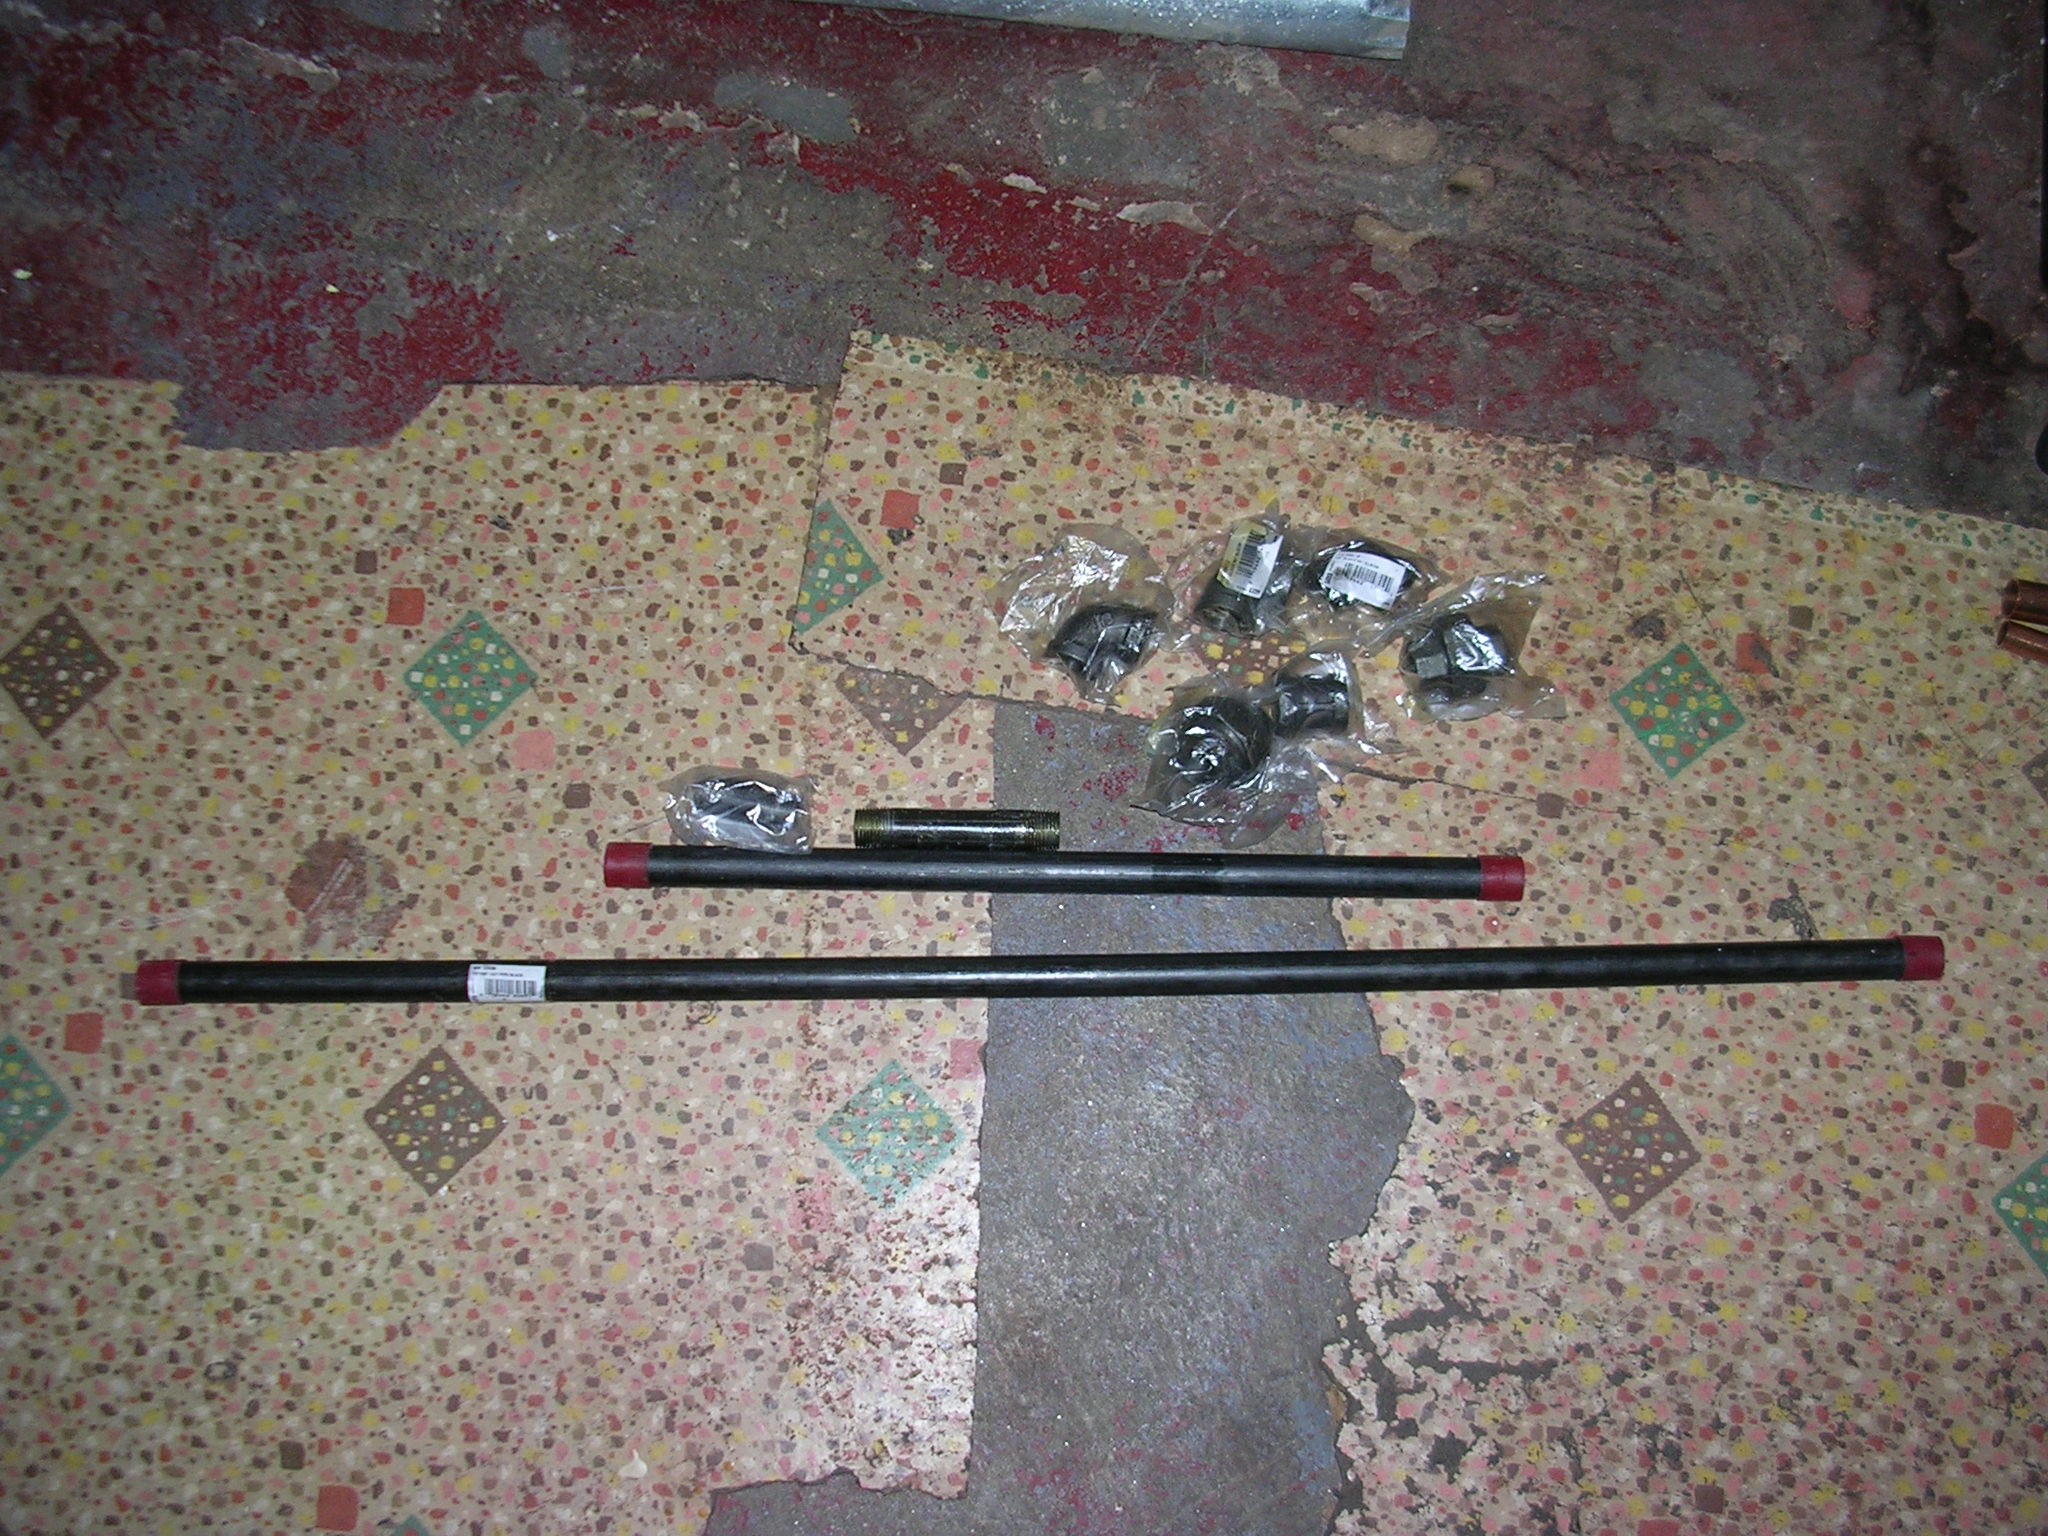
Another item decided to add to my water heater were these water stop devices. You add one to the incoming water line and one to the outgoing water line. They are metal but lined with plastic. Inside is a plastic BB that only allows water to flow in a single direction. This you are sure water will only flow in the direction its intended. Also I read that you need a buffer when joining two dissimilar metals, as is the case of an aluminum (I think) water heater and copper pipe. The plastic on the water shop devices separates the two different metals preventing corrosion, or so it says in my book. Whether that true or not the two water stop devices were only about $10 together.
I started the turning off the gas line to the water heater and turning off the main water line into the house. Don't forget to turn on a sink to let all the water in the pipes drain before working on your water heater. I then decided I had worked long enough to take a brunch break. Back to work.... I then drained the water heater. This part sucked. You can run a hose from the bottom of the water heater to your utility sink in the basement but you will only drain about 40% of the water. Of course this depends of the elevation difference between the water heater and sink. The rest of it had to be drained bucket load by bucket load.
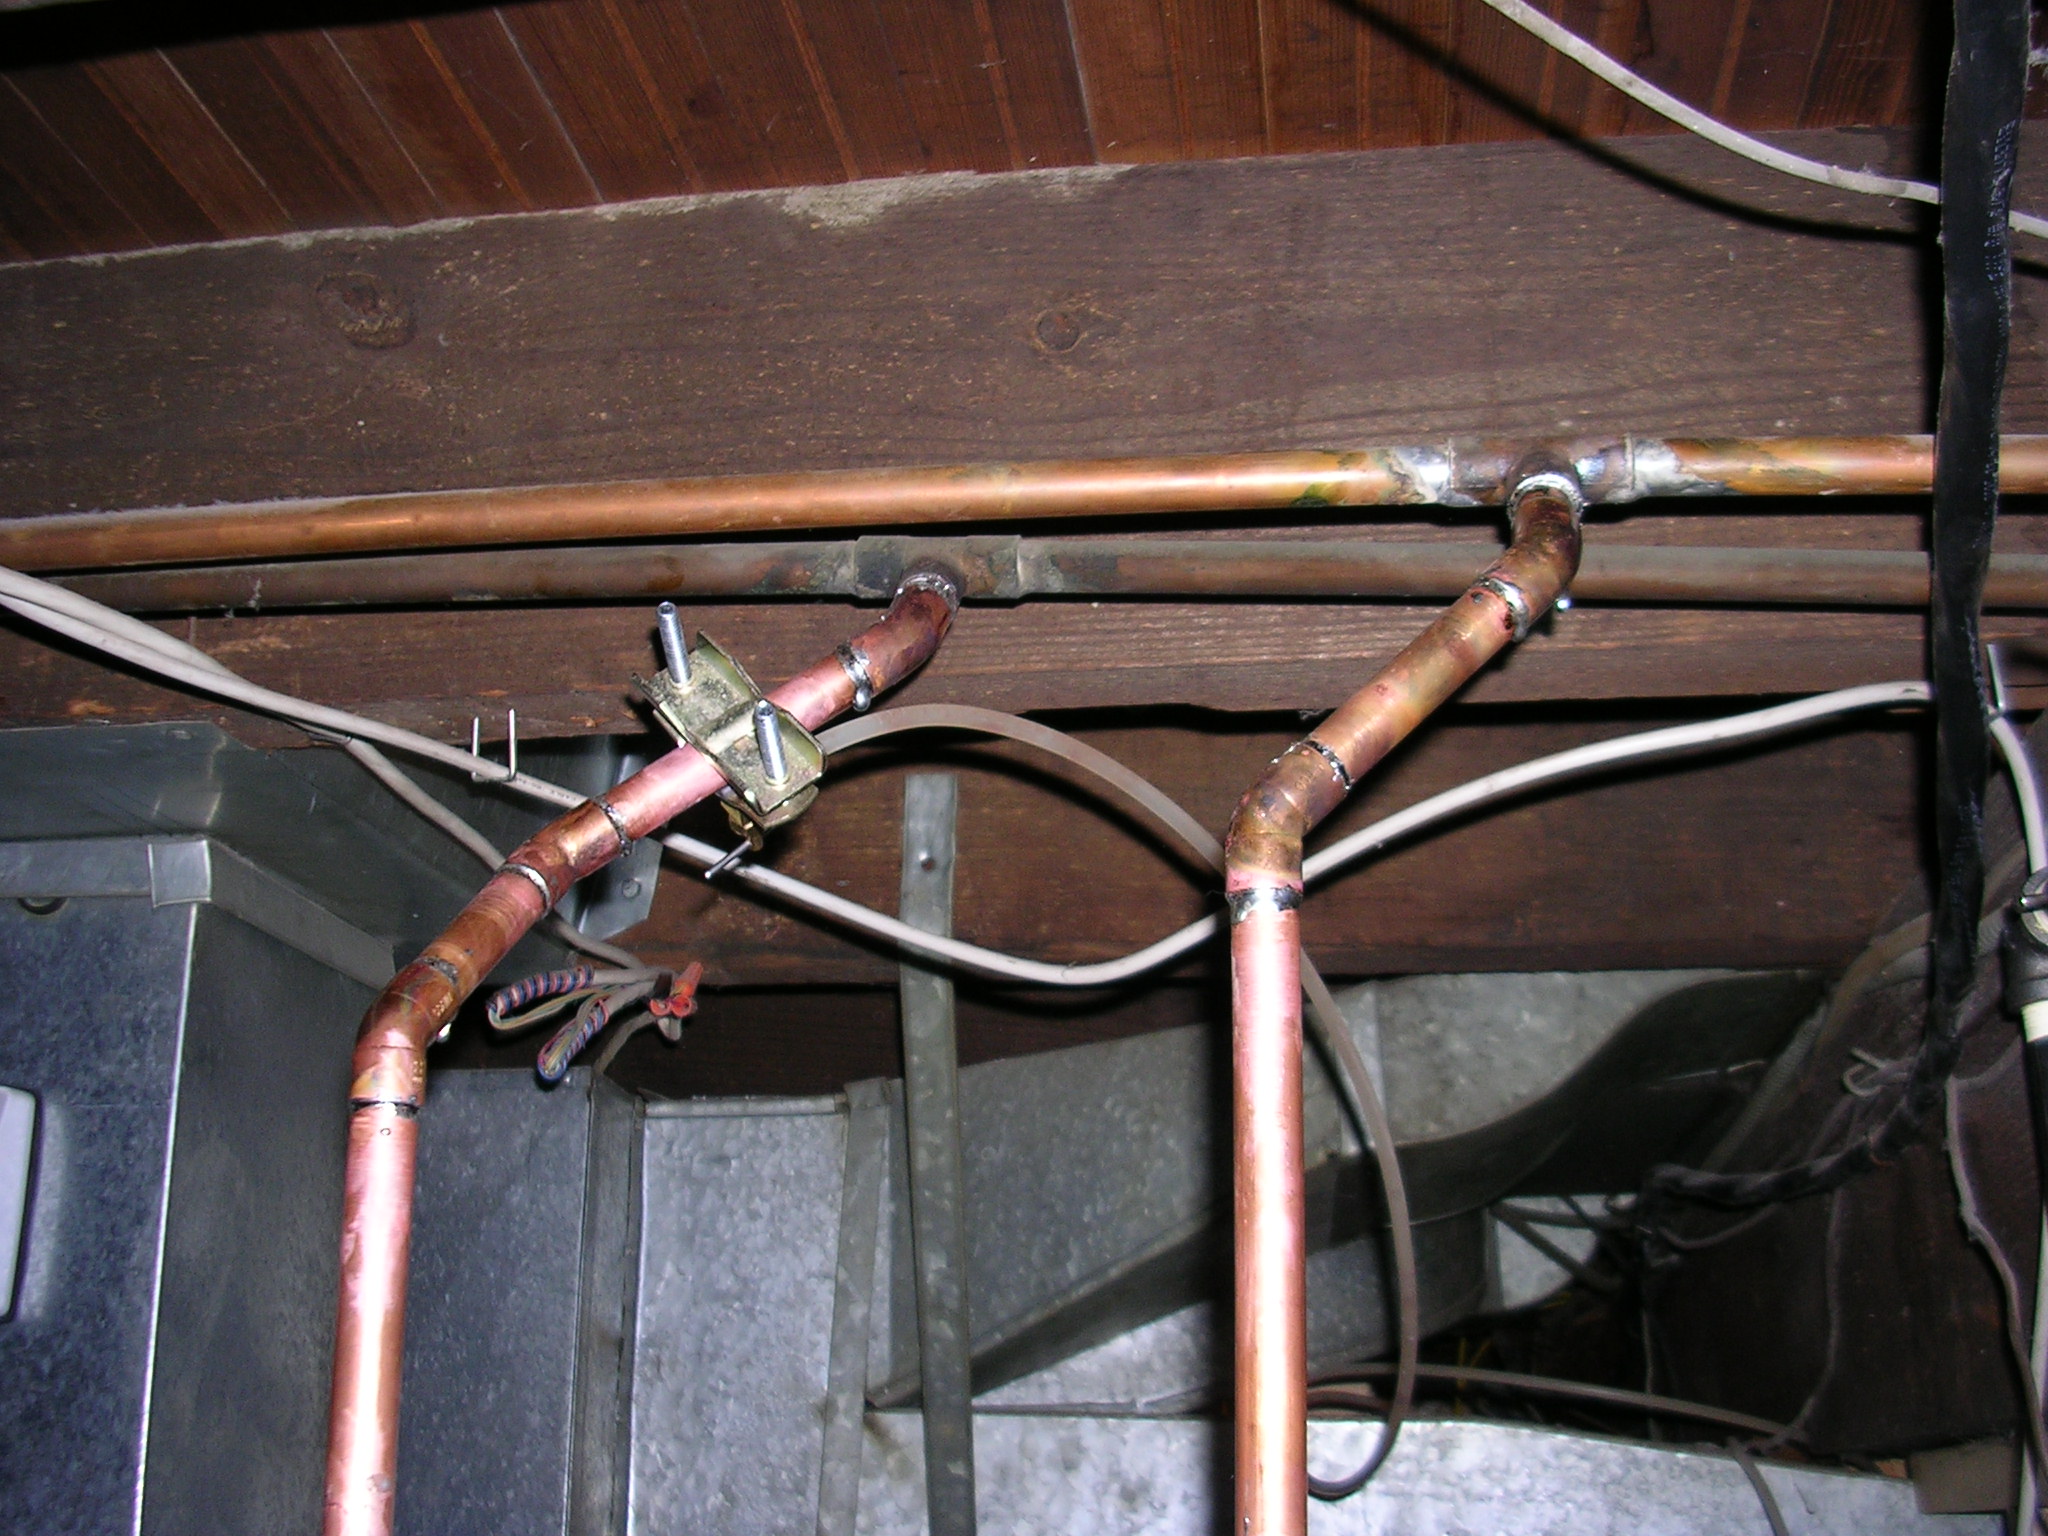
Next I cut / unsoldered the existing copper water pipes. I then disconnected the gas line. Next I moved the water heater into its new position, about 3 feet left of where it had been. The remaining of the time was spent cutting pipe, soldering, cursing, running to Home Depot for another adapter. I repeated that process over and over until I was done. I will say this, its amazing how long copper pipes stays hot enough to burn your hand when you grab it.
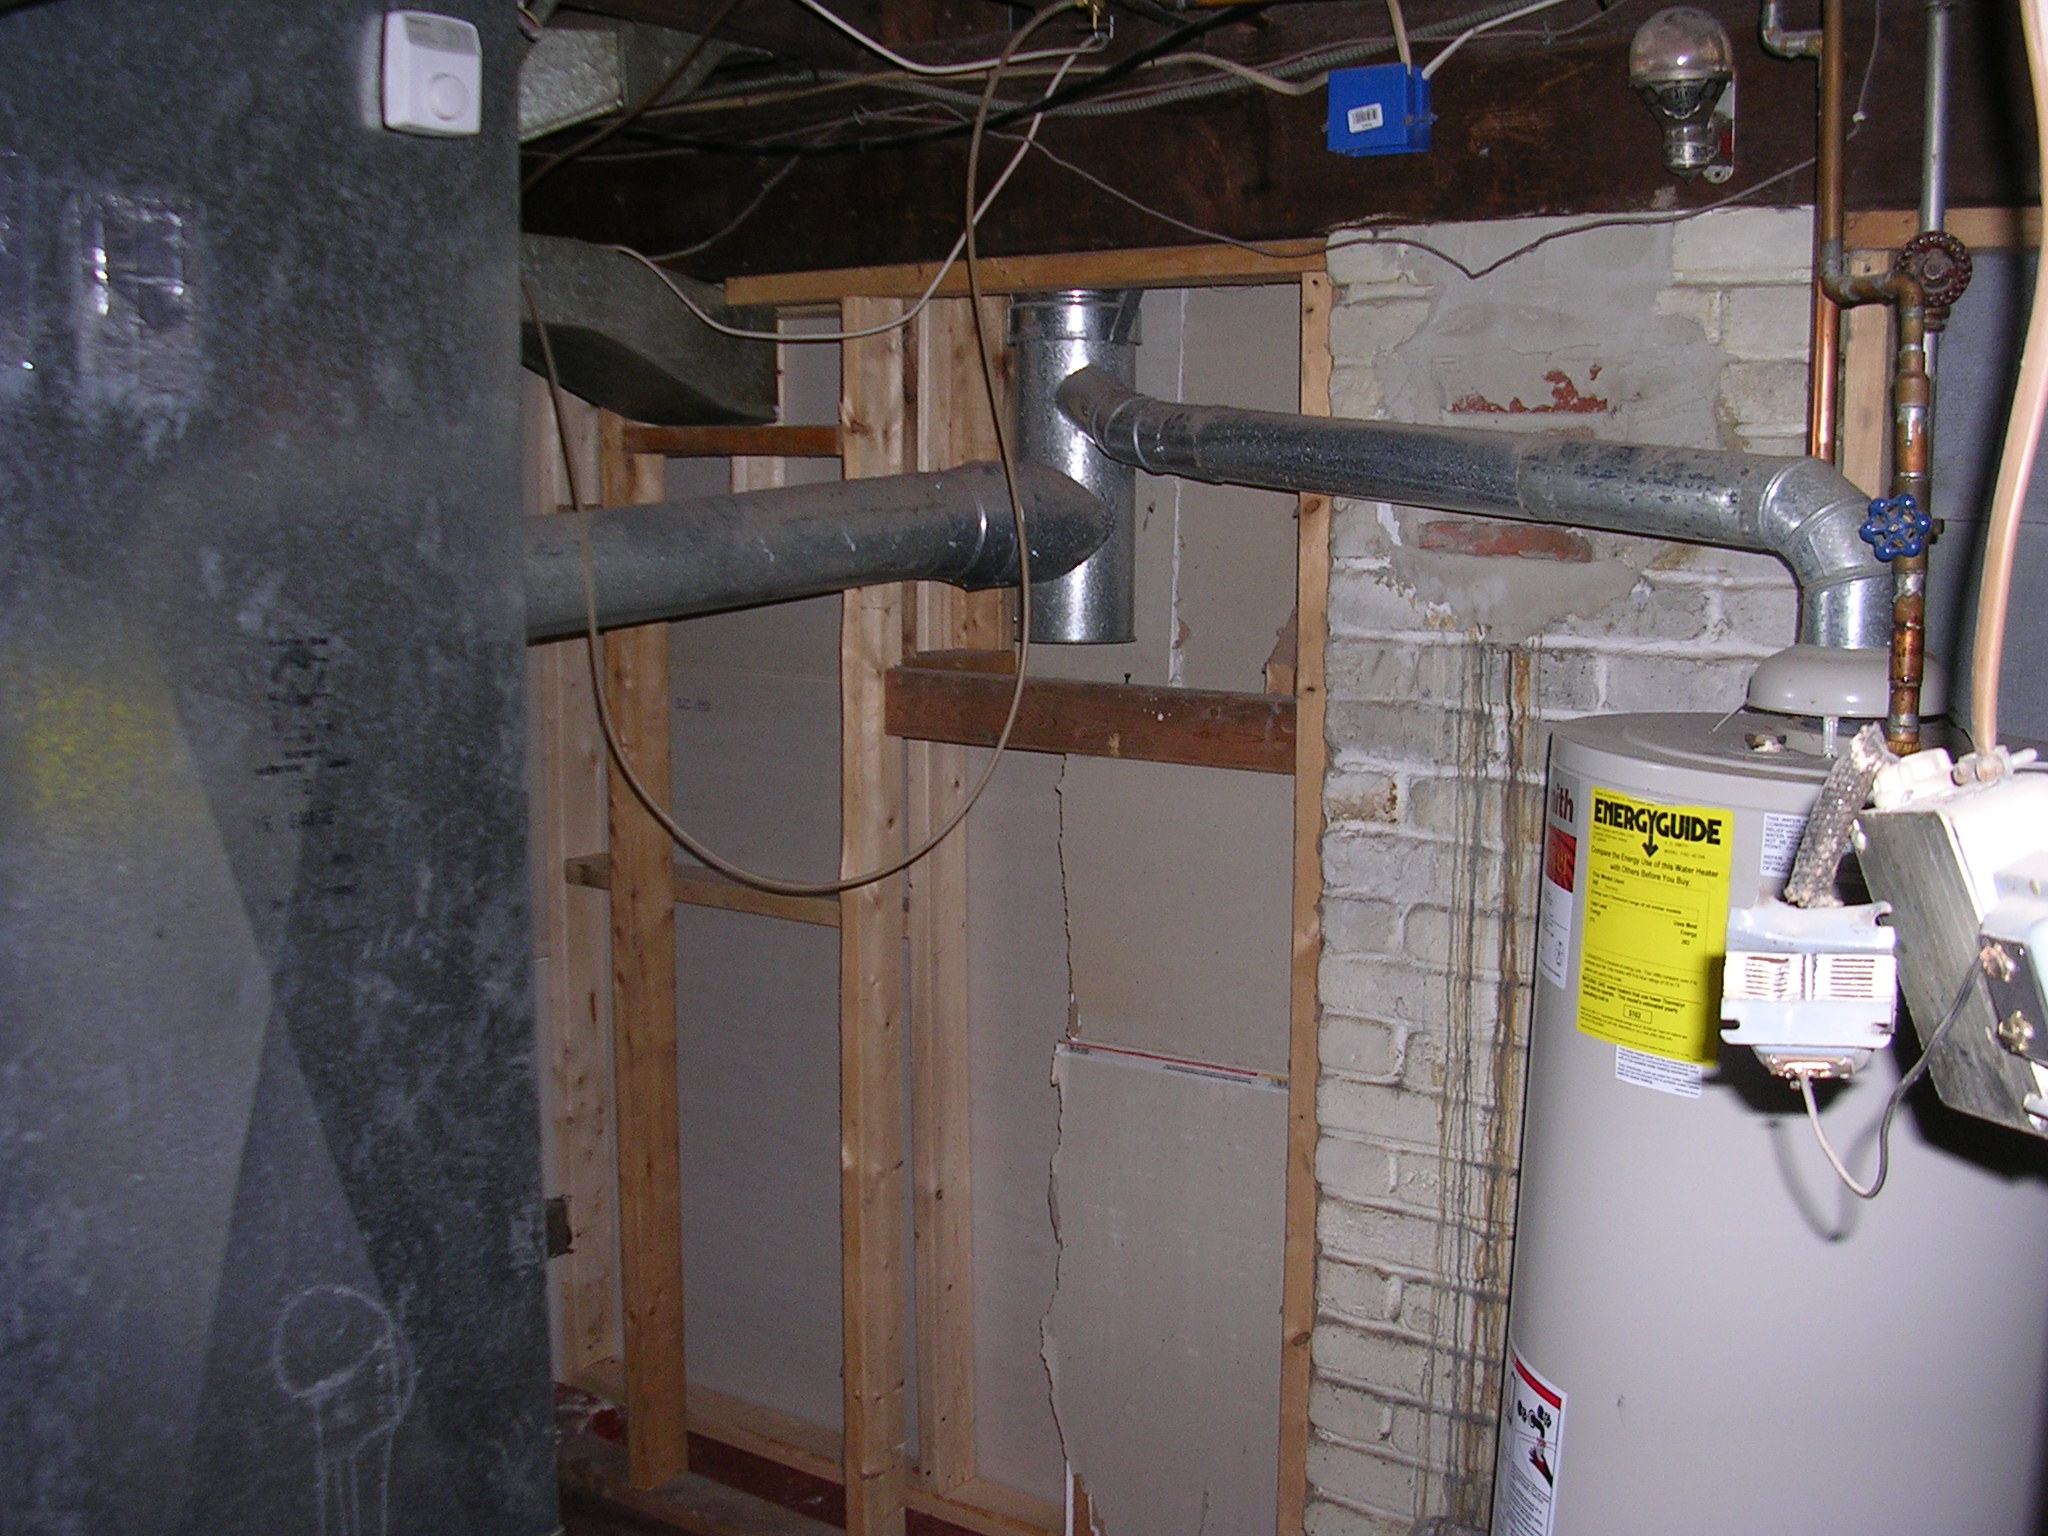
I would not say this project was mentally hard or required very many special skills, it just to forever to figure out all the parts I need and to get them. In the end I think it turned out pretty good. I can safely say that my copper solder joints look much more professional than what was already there. I can also say that I used the correct pipe for my gas lines (the original installer used galvanized steel, for shame!).
My beautiful solder job and the awesome water shut-off valves...
Here is a shot of the old location:
... and the new location to give you an idea of how much space was saved
Photos
| Before |
Some pics of the water heater before I moved it |
| After |
After shots |
Cost
| Tools |
~$30 |
| Pipes and connections (gas pipes are expensive) |
~$70 |
| Total |
~$100 |
Time
| Start to finish, including numerous trips to Home Depot |
1 solid day = 12 hours |
|


