Floors
Introduction
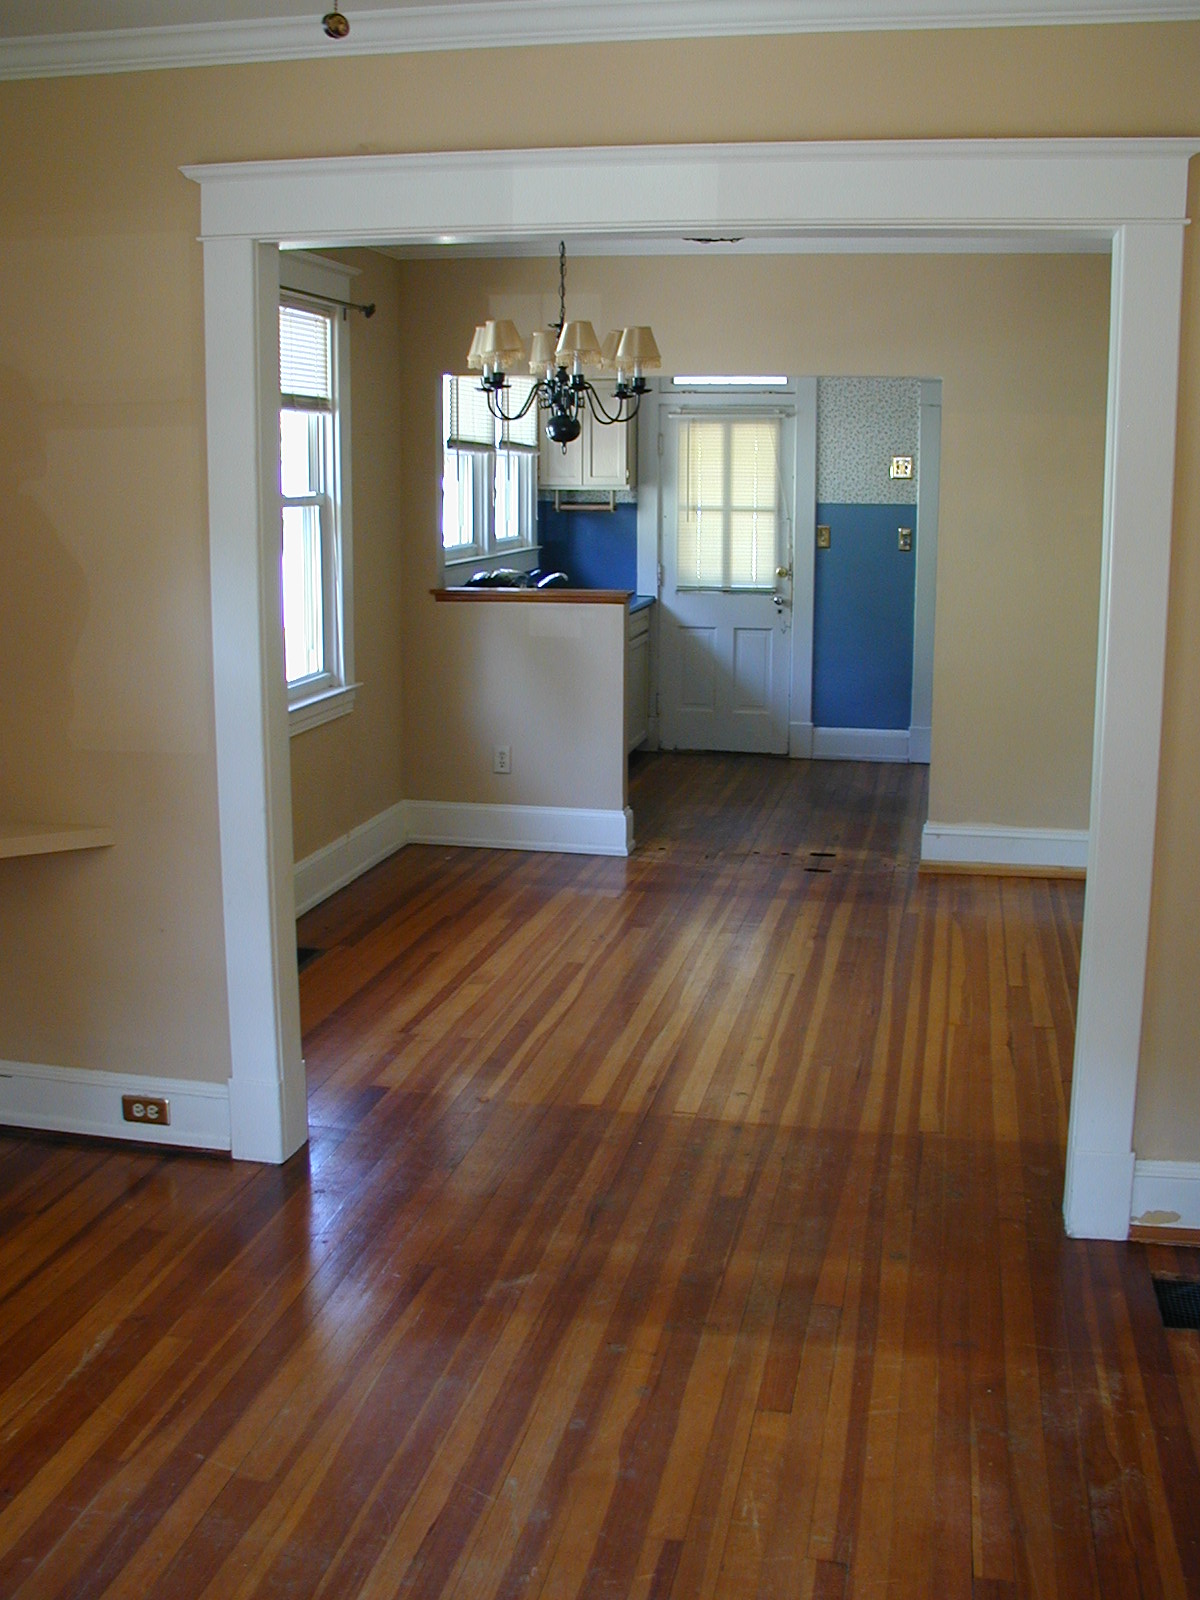
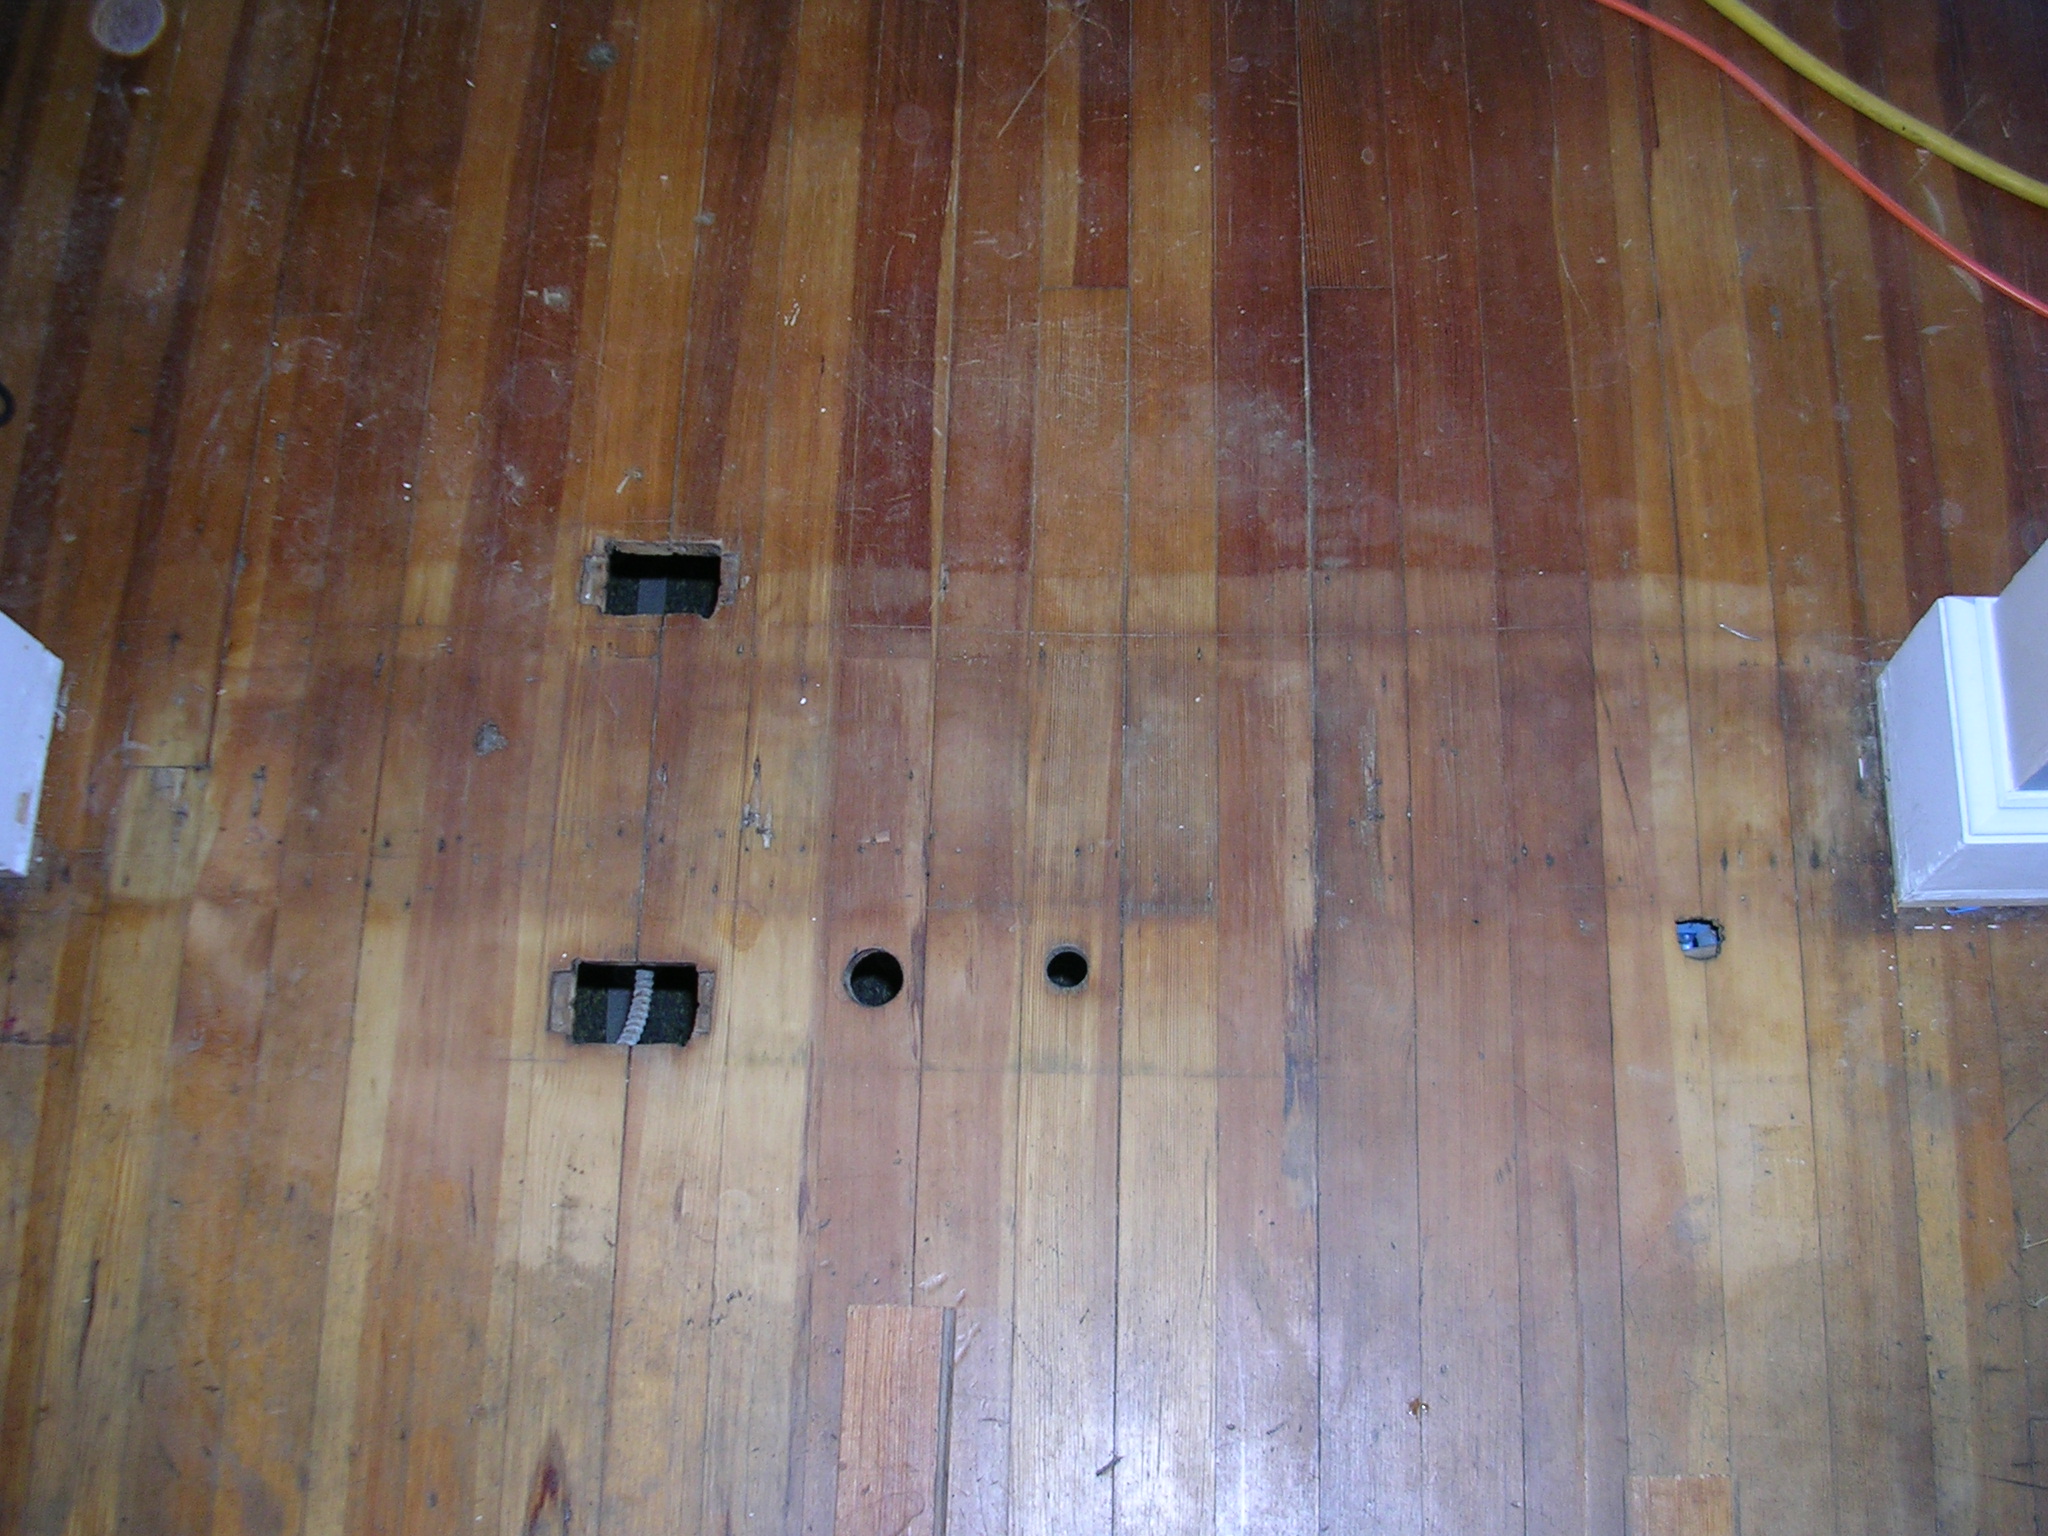
The house came with wood floors on the entire first floor, including the kitchen. They were badly sunfaded in some areas but other areas were been rugs down were ok. This left very visible rug outlines on the ground there were getting on my nerves. Additionally, there were several places where wires, pipes, or even electrical outlets had been cut out of the flooring but were no longer there leaving large holes. Nikki and I both agreed it would be a good idea to eventually redo the floors. Here you can see a photo of the sun-faded lines:
My mother and father thought otherwise. Their contention was that we should do it immediately before we moved any stuff into the house because redoing the floors is incredibly disruptive, especially when you are refinishing an entire floor at once. After a couple of days of resisting I had to admit their logic was sound. I just didn't want to spend any more money at the moment b/c I was (and still am) pretty much broke (damn closing costs).
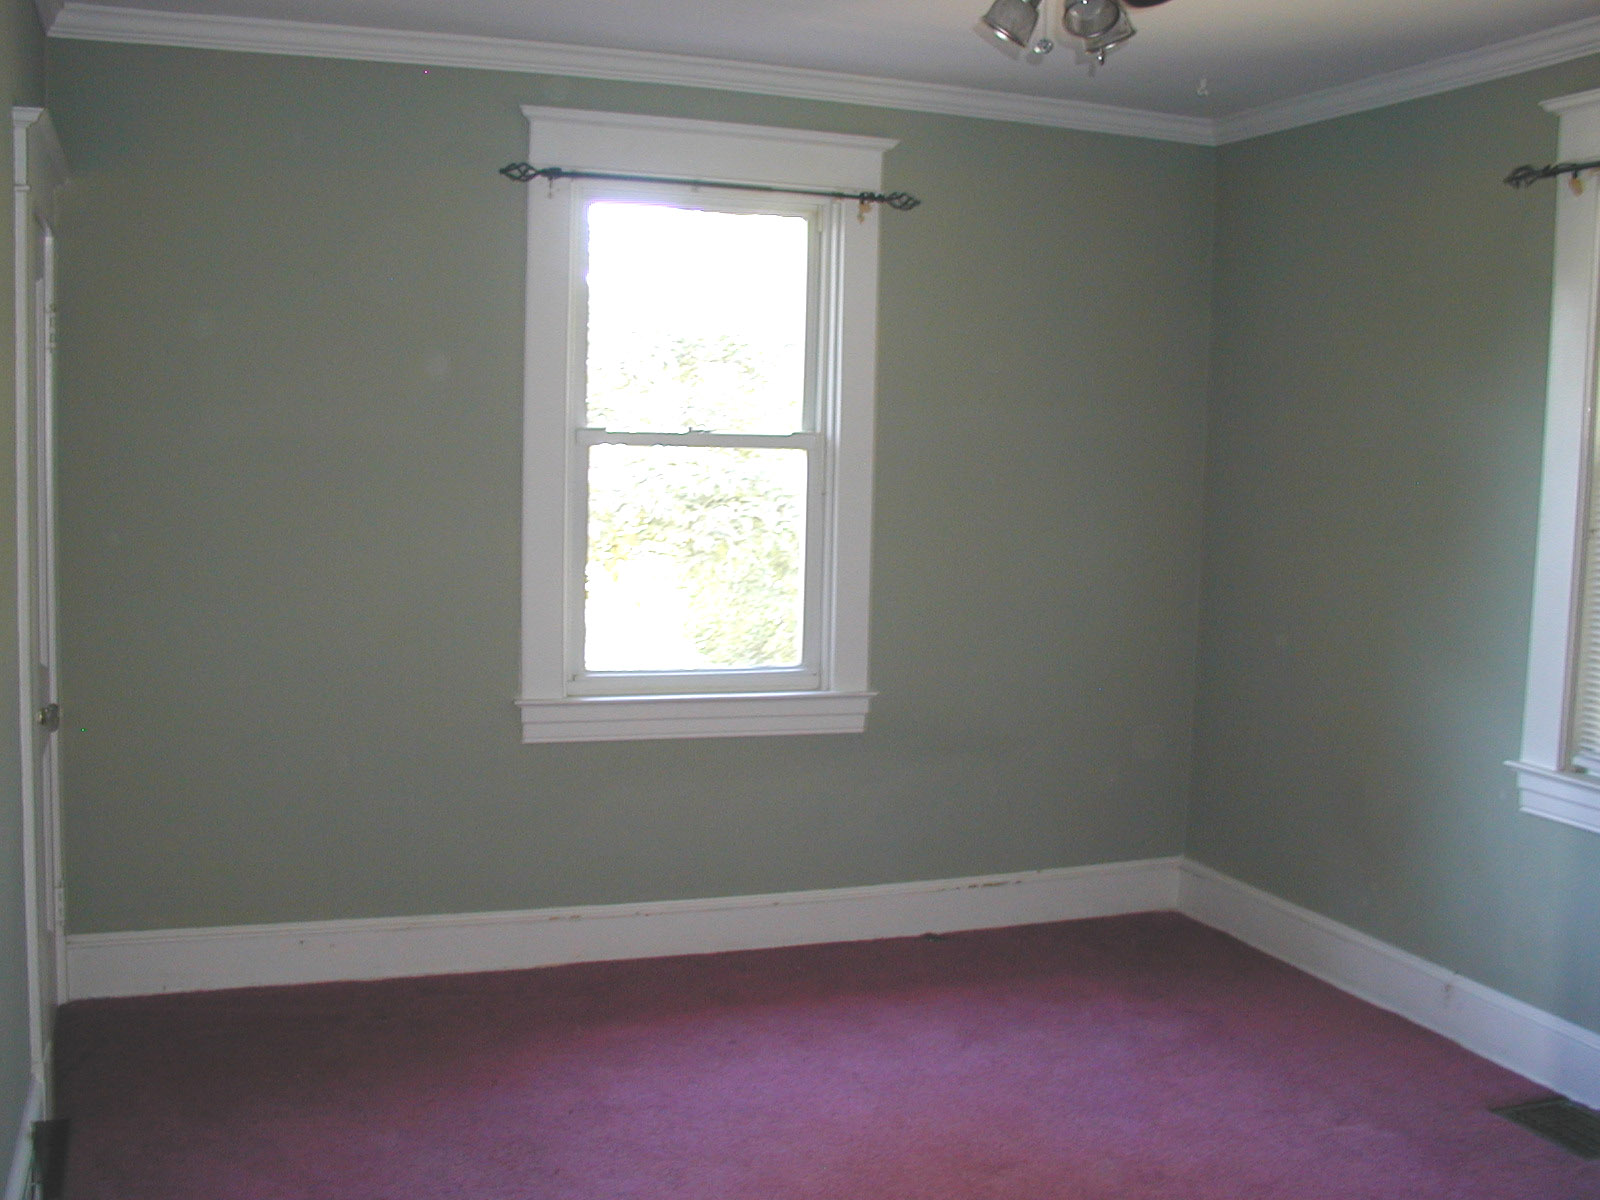
The first step was ripping up the purplish-pink carpet in the 2 bedrooms. Needless to say it was something special to look at. After Nikki, my dad, and myself each spent a day pulling up carpet, padding, tacking strips, and staples the carpet was up. The wood floor looked pretty good all things considered. Here is a photo of that "special" carpet:
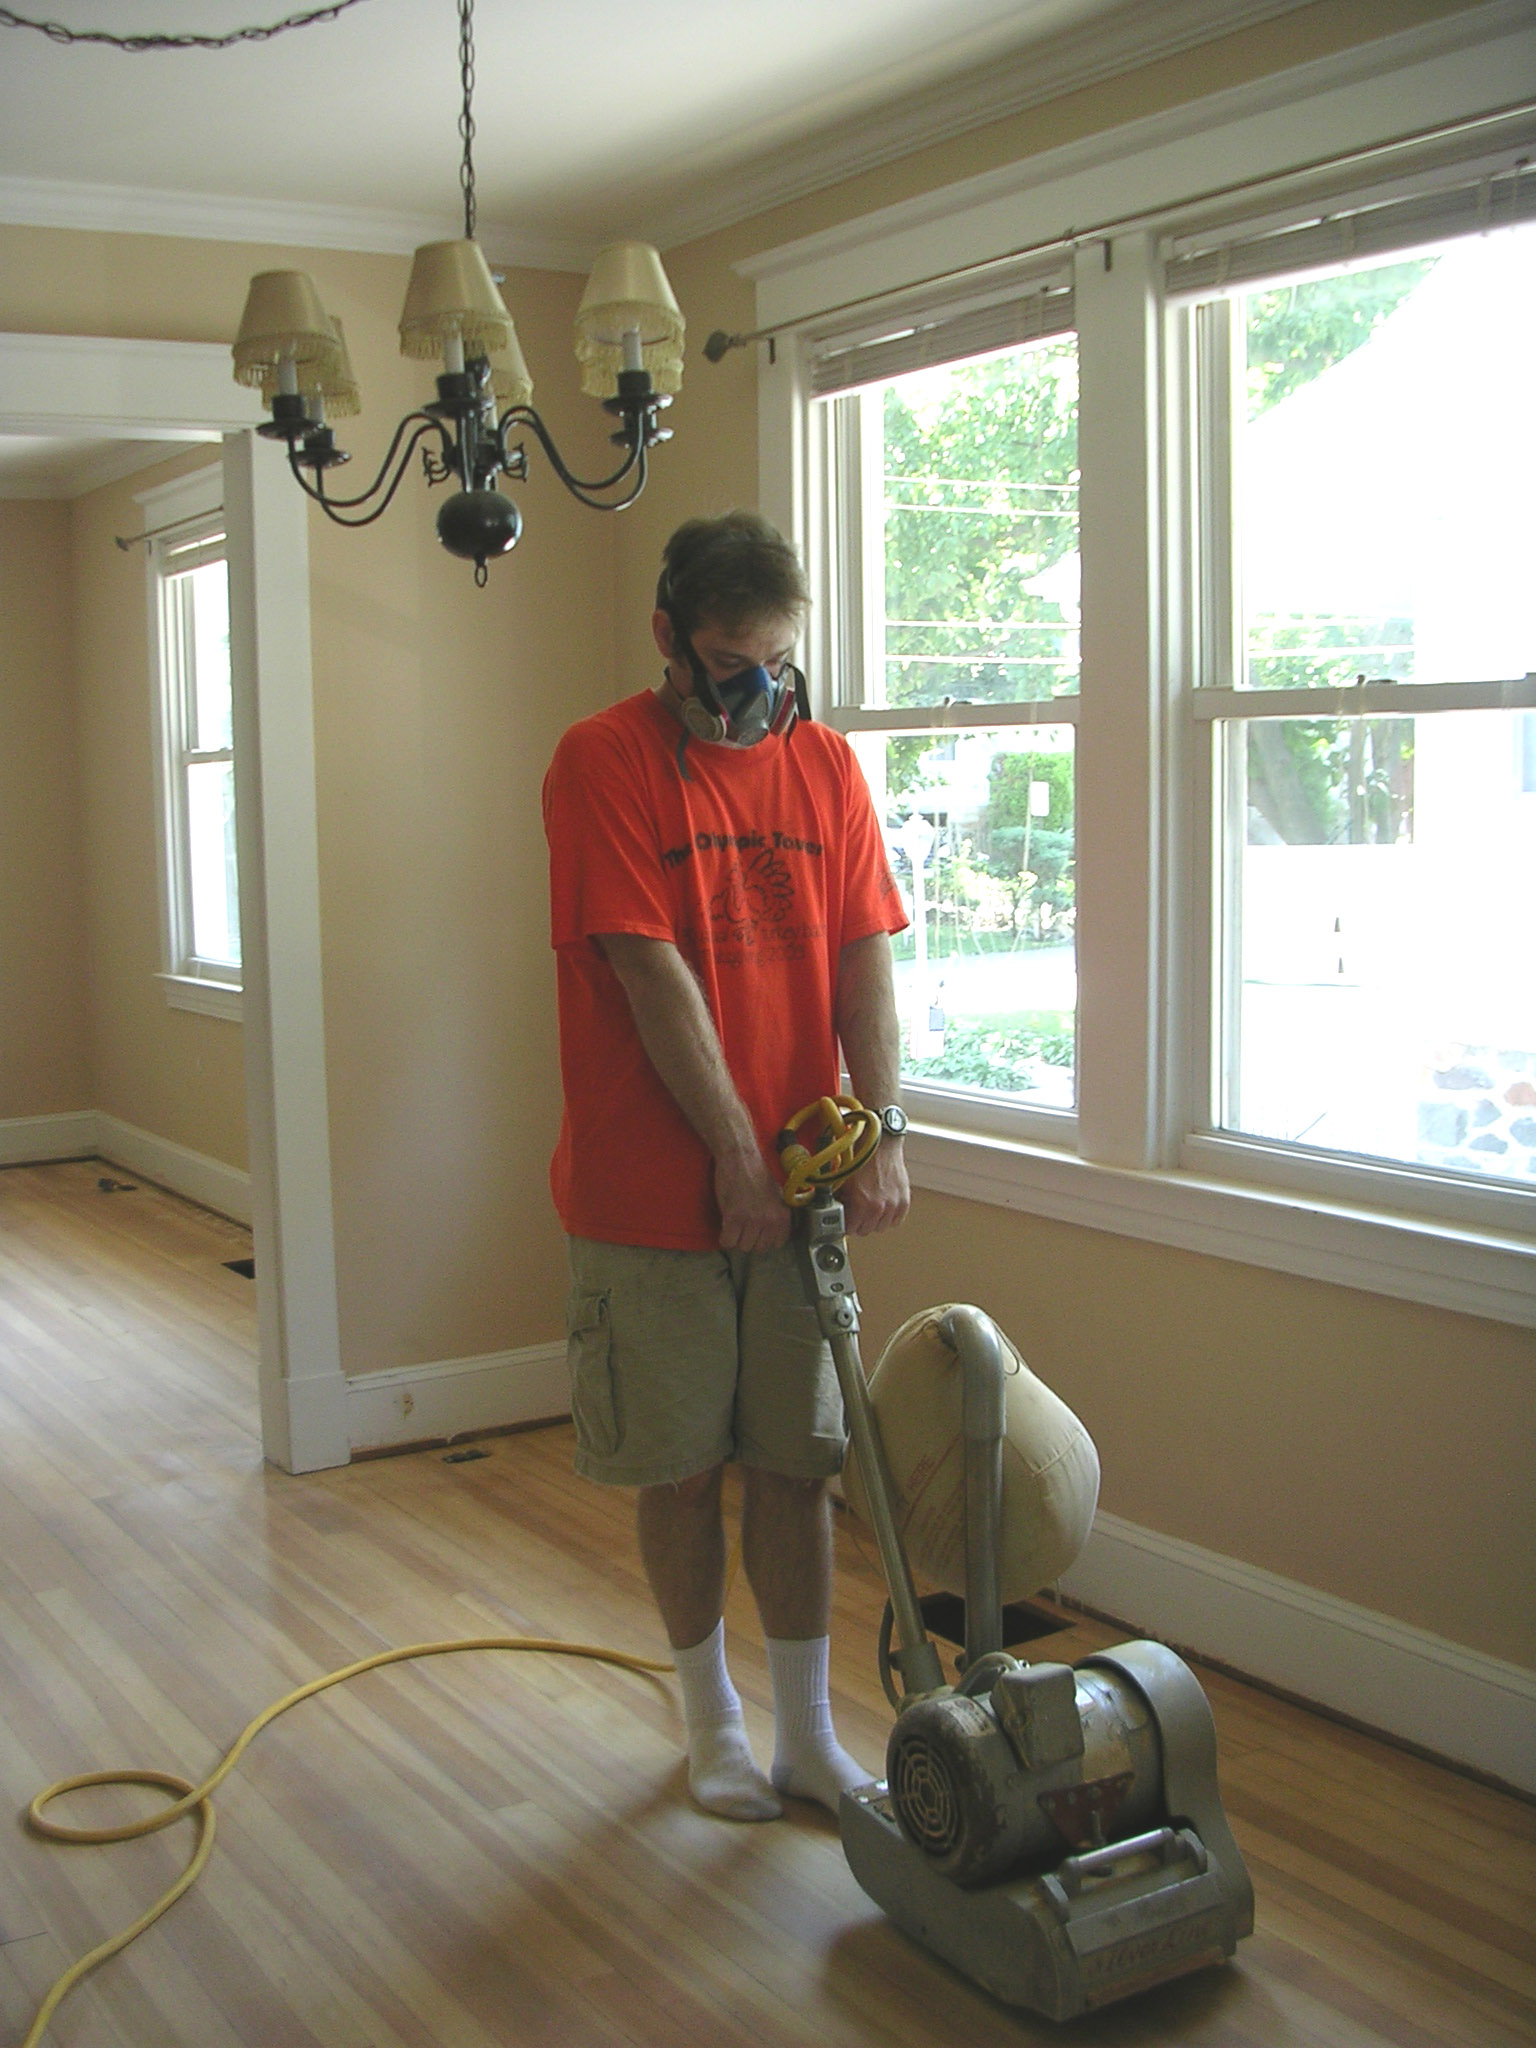
We rented two industrial sanders. One looked like a small lawnmower. You just let it rip and it would literally pull you along while it sanded out an 8" wide strip. The other sander was an edge sander. It had a round sanding pad that allowed you to sand right up to the edges. Even though it was relatively small it still weighed about 30 pounds. Both of these tools where ridiculously cool and amazingly effective. To do the same job with conventional sanders would have taken weeks, no exaggeration. Here is a photo the of lawnmower style sanding machine:
We spent the next 3 days sanding 946 square feet of southern pine wood floors. It amazed me that even after ~70 years the floors could still smell like fresh cut pine once we sanded low enough. The sanding was time consuming but rewarding. It was particularly hard to sand down far enough to get past the sun-faded lines. Unfortunately I could not sand as deep as I would have liked since we started hitting the nails that secure the flooring in place. This house, just like almost all the other homes we looked at of this vintage in the Baltimore area, does not any under flooring. The wood flooring you see is the only flooring run across the floor joices. I am not getting any skinnier in my old age so I better make sure the floors are still plenty thick.
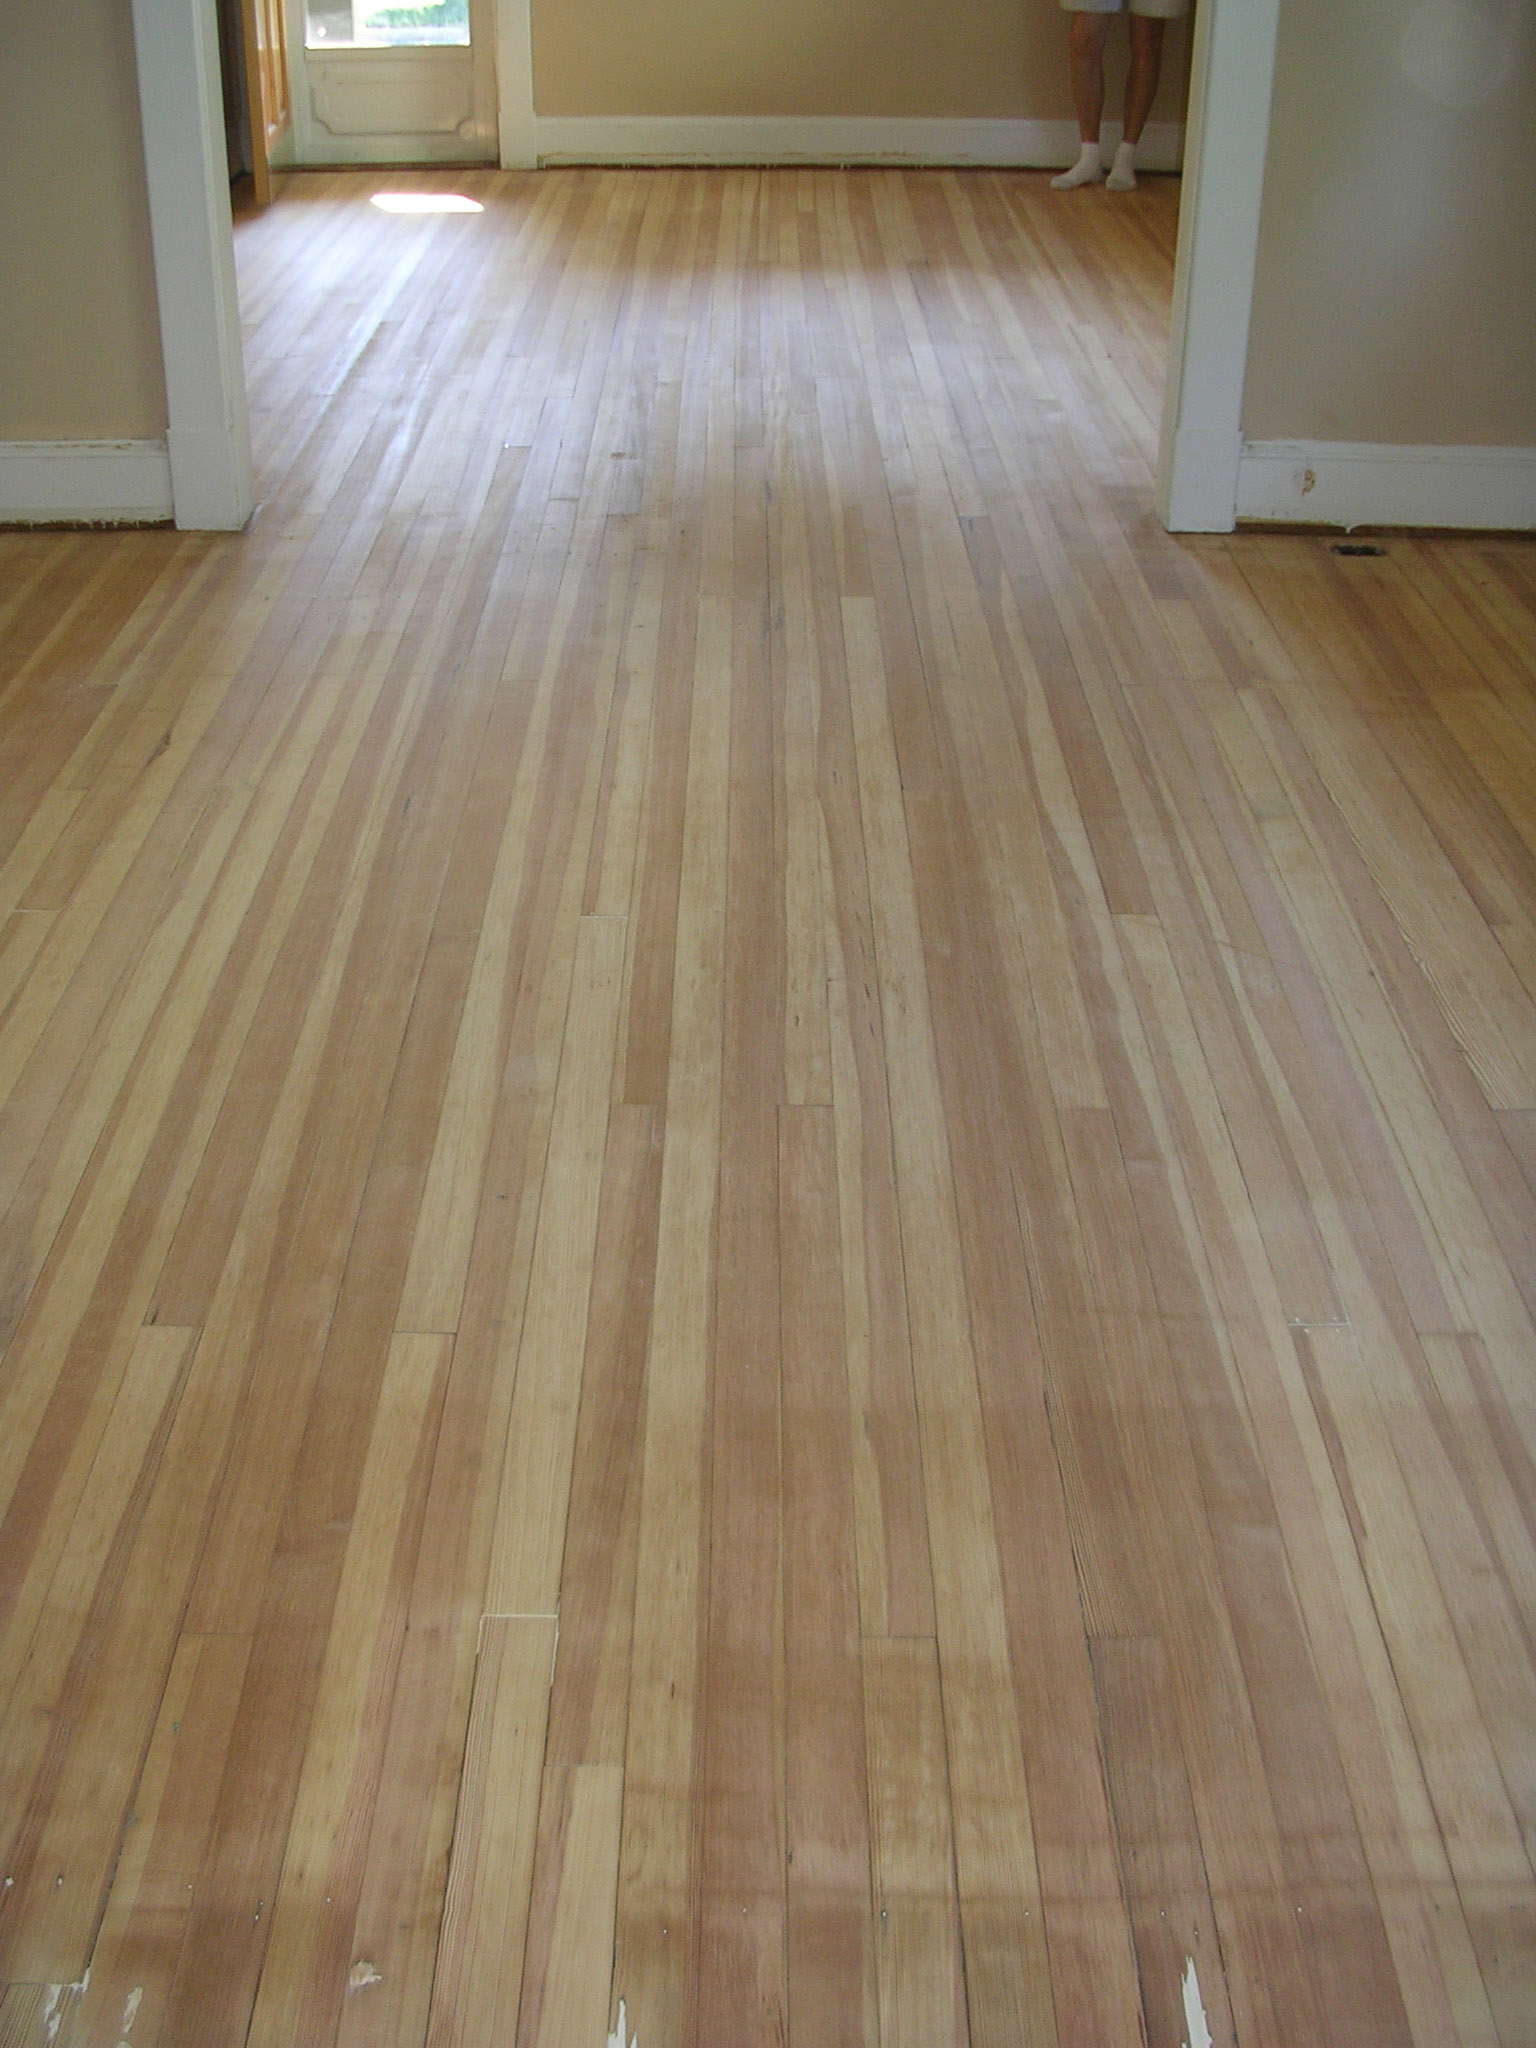
Here you can see what the floors looked like after we were done sanding. That's just bare wood, no stain or protectant:
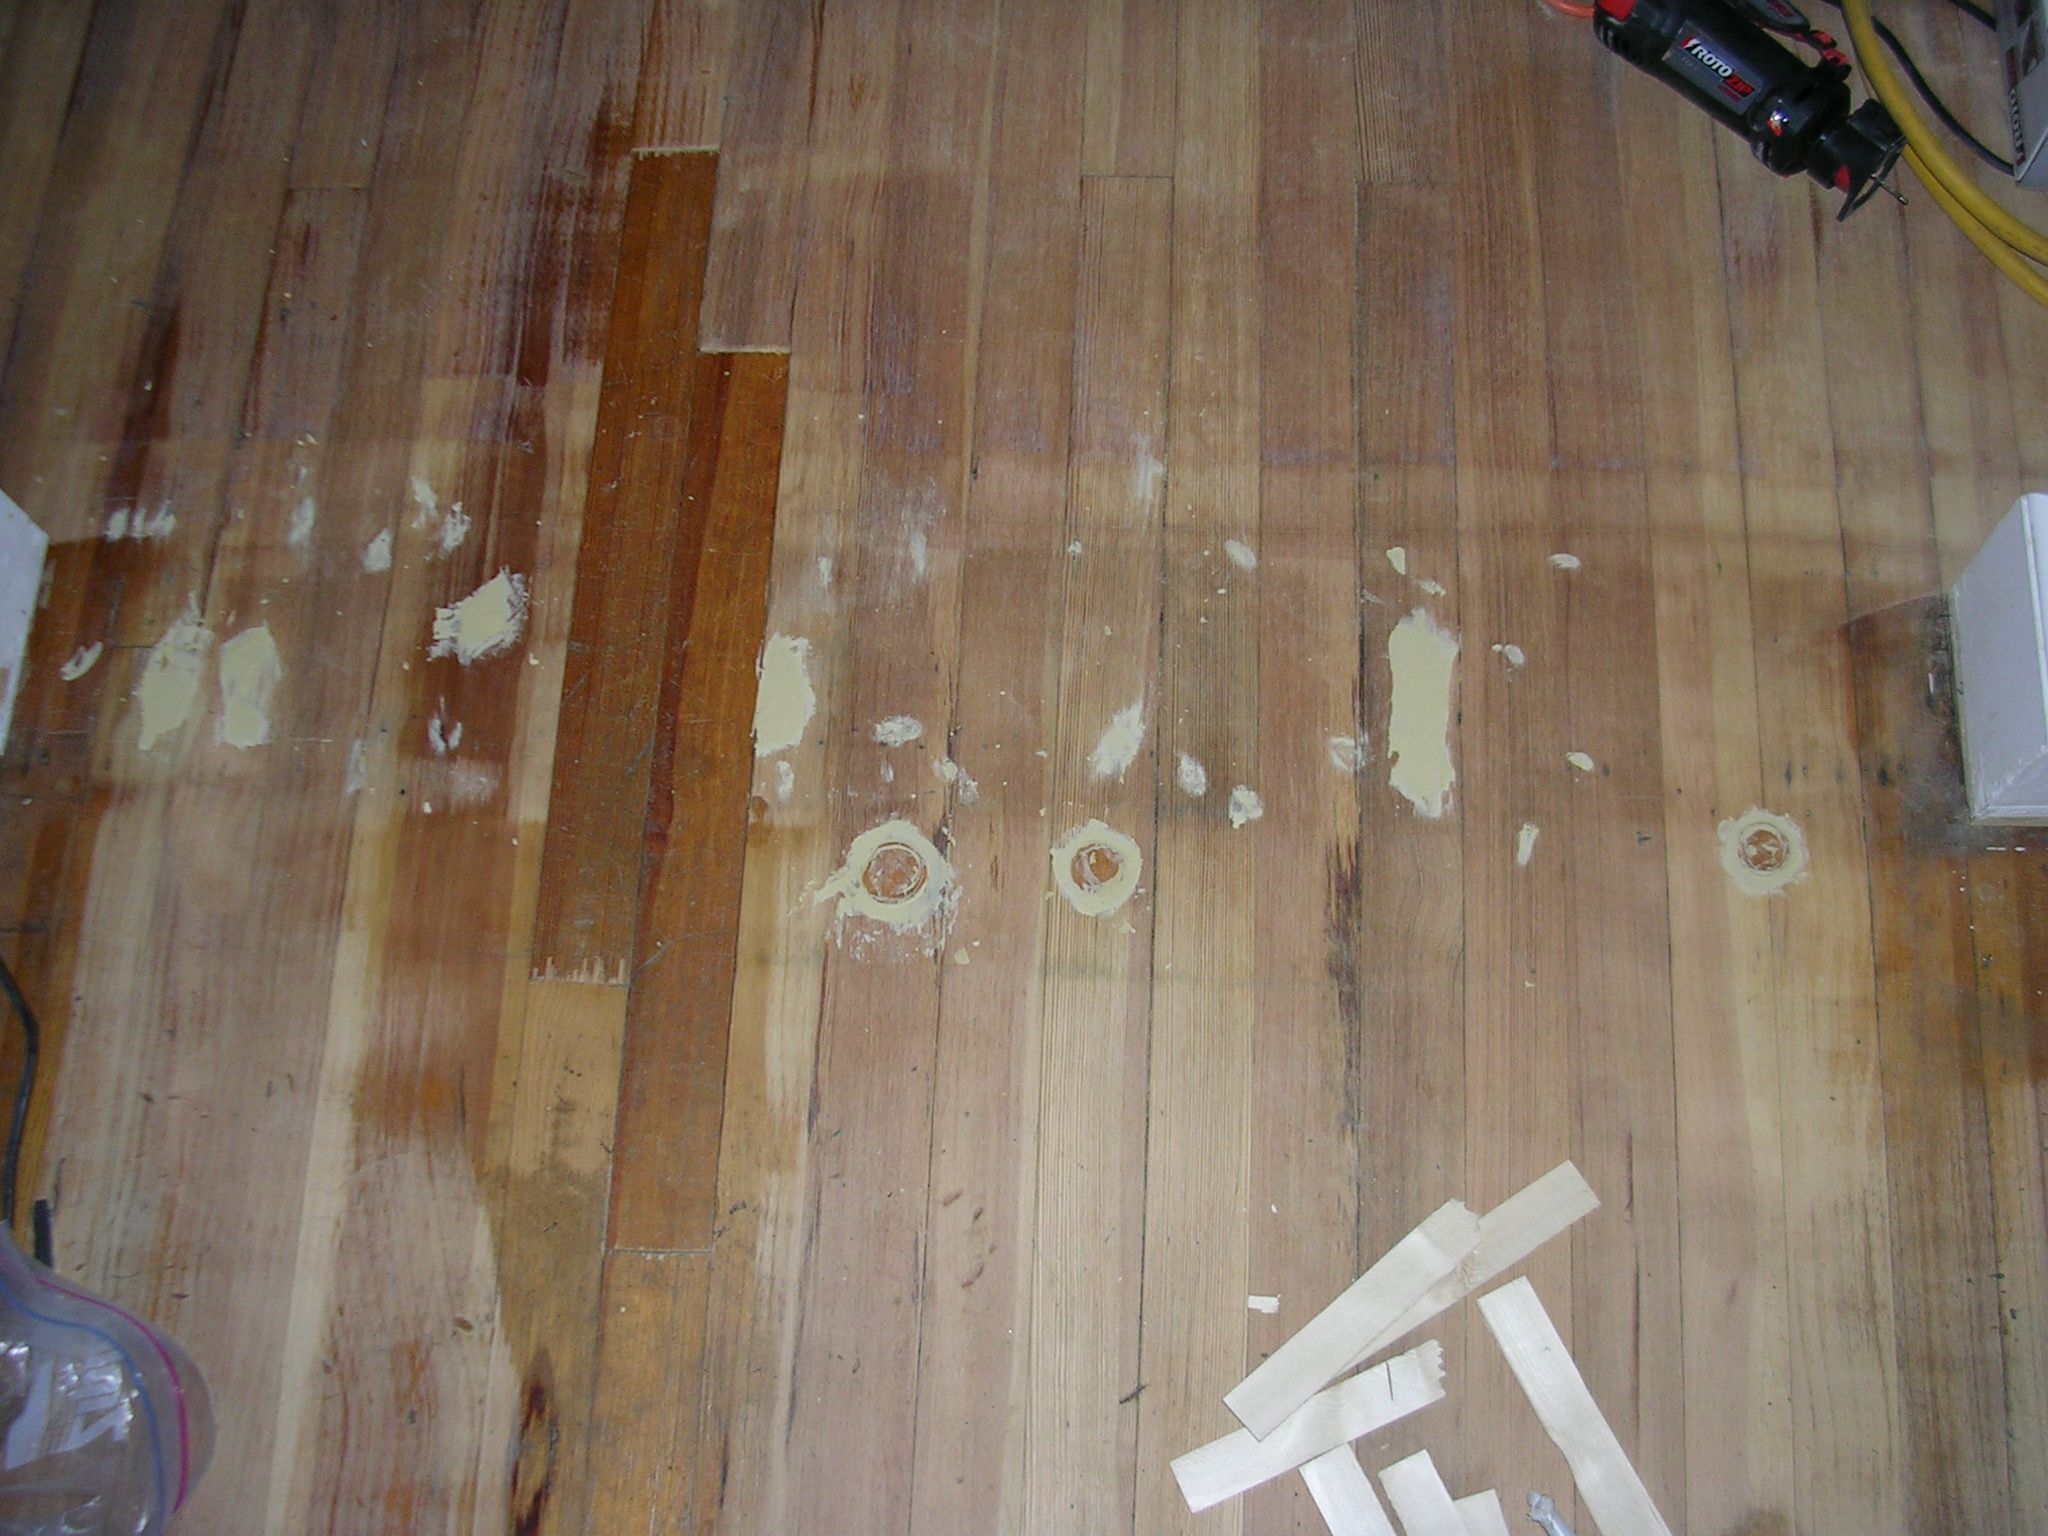
In addition to sanding the floor, we also patched lots of holes. Most noteable was in the kitchen. There where several old pipe holes and two electrical outlet holes all cut out of the wood flooring. I was fine with plugging the pipe holes but I wanted to replace the wood strips that had electrical holes cut out of them. This turned out to be a chore for a number of reasons. First, where do you get southern pine of the same cut used 70 years ago? I couldn't buy it anywhere local. I ended up ripping up the attic stairs to get the flooring I needed to patch the holes. As you remember there is no under flooring. This meant that the patches would be load bearing so the patches had to span at least 2 floor joices. Bottom line: about 6 hours later we went from this:
to this:
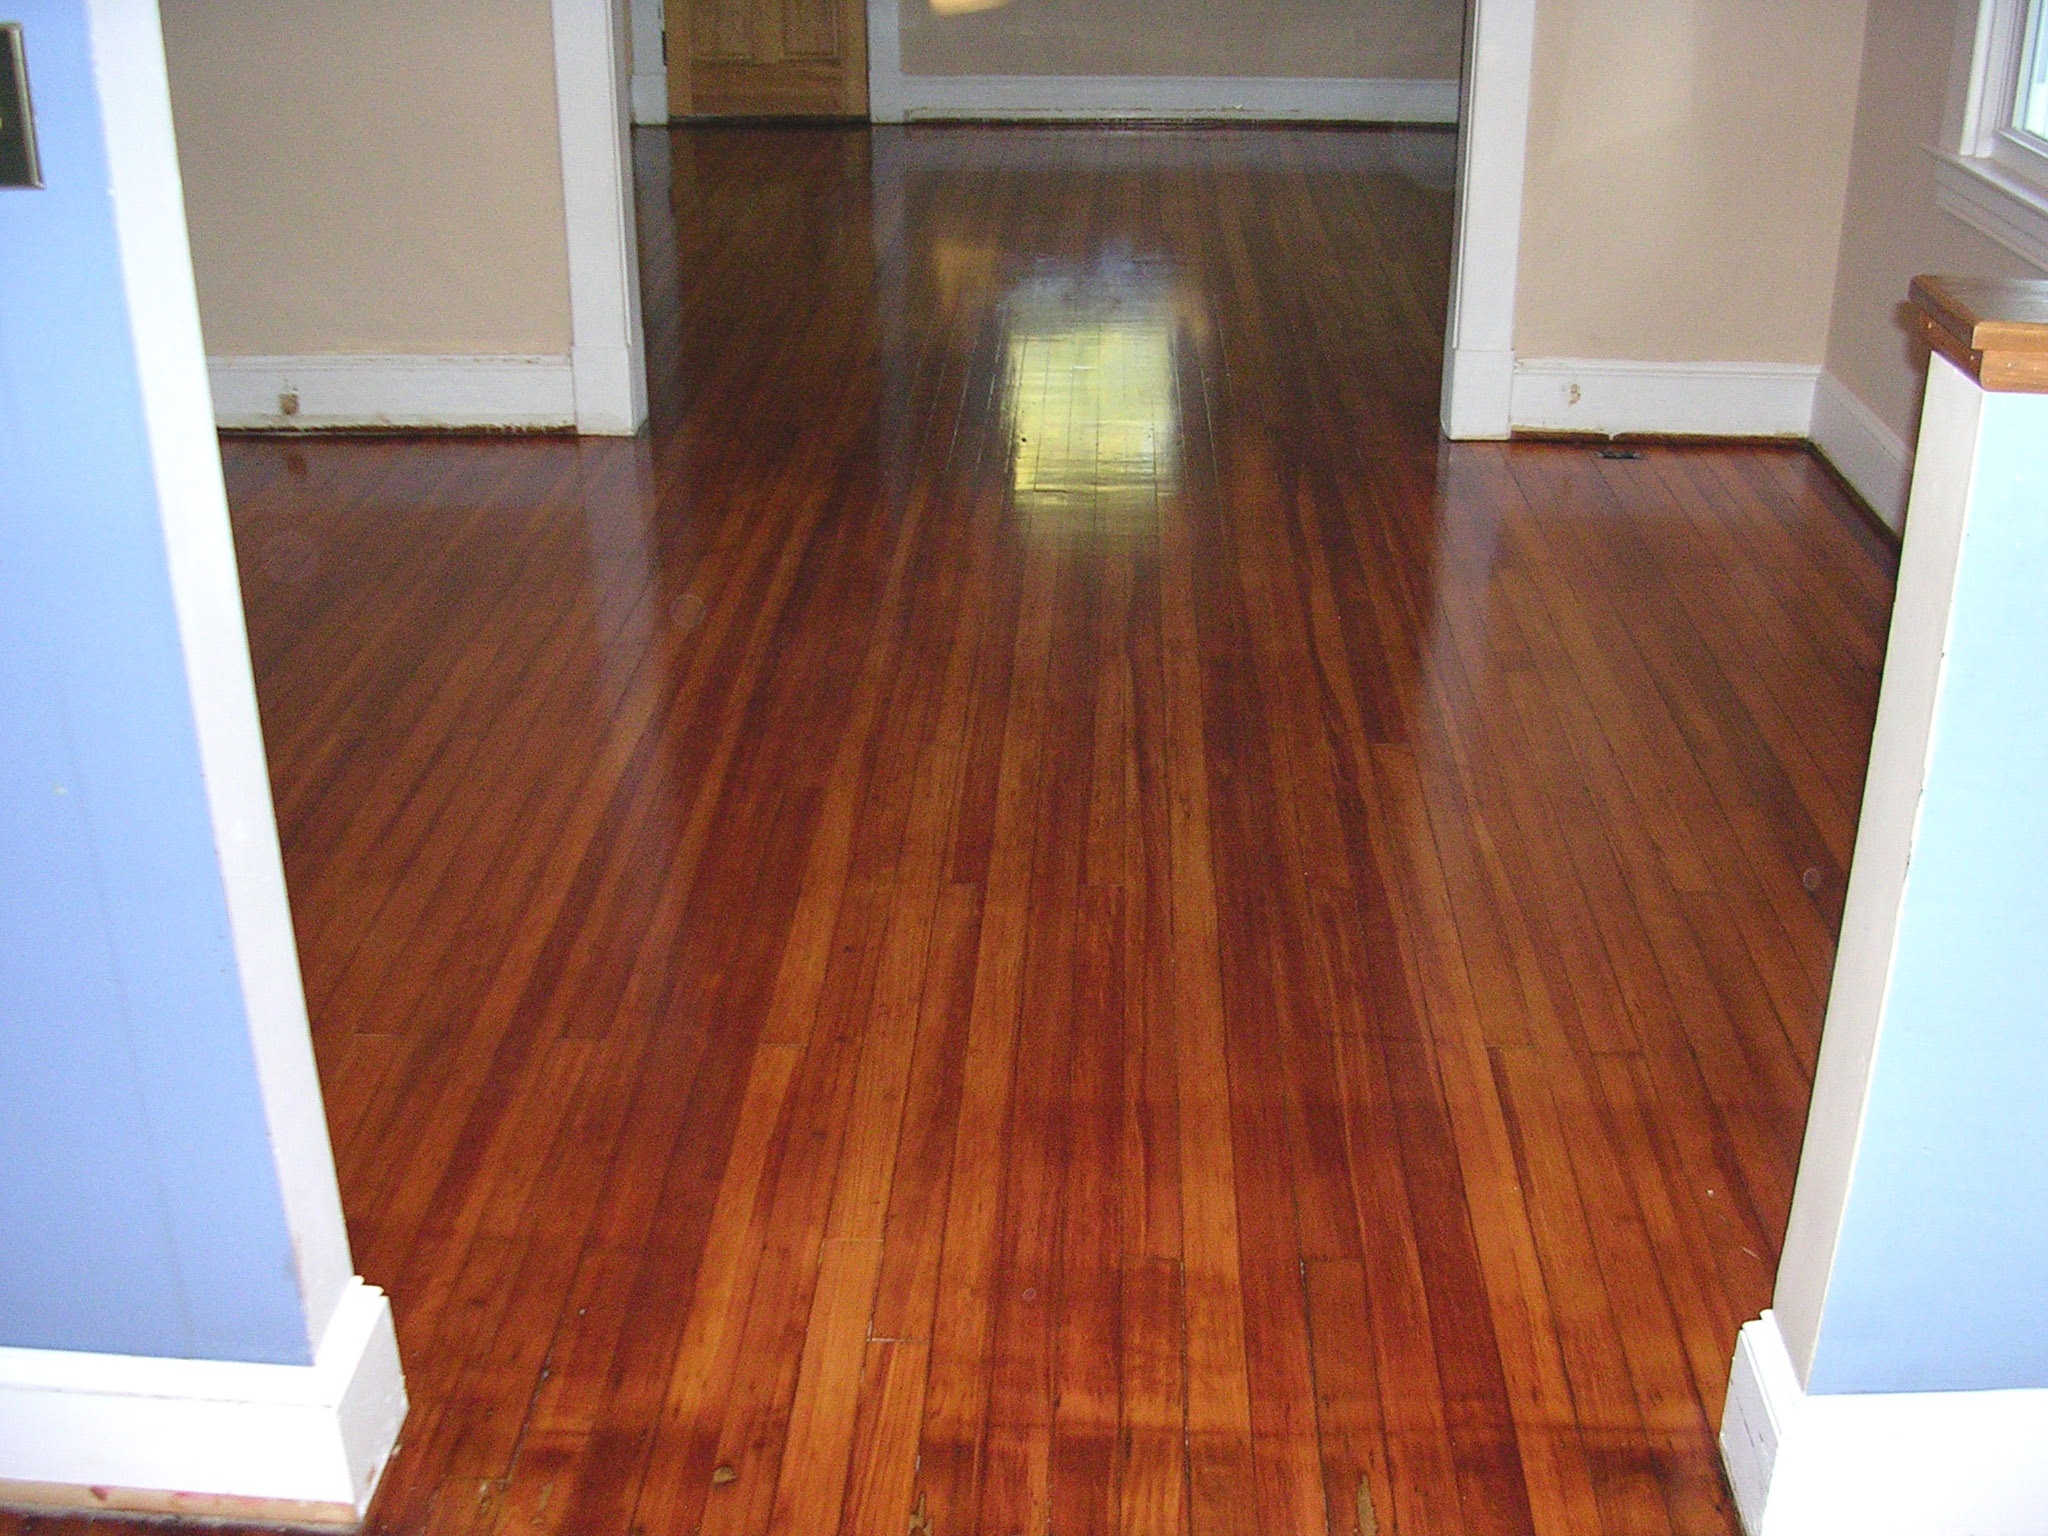
My father an Nikki spent the next couple of days putting down "golden pecan #245" stain and 3 coats of polyurethane. The wood looked good after just the stain but the polyurethane really gave it some depth. The end result was better than I expected.
Photos
| Before |
These photos where taken before we started sanding off the old finish |
| During |
These are when we in in the process of sanding and finishing the floors |
| After |
The final product |
Cost
| Industrial sanders + sandpaper |
$250 |
| Stain, Polyurethane, pretreater, and applicators |
$300 |
| Total |
~$550 |
Time
| Sanding + prep work |
3 days @ 10 hours each day * 3 people = 90 hours |
| Staining |
3 days @ 3 hours each day * 2 people = 18 hours |
| Total |
6 days, 108 hours |
|


